
Last updated November 21, 2026
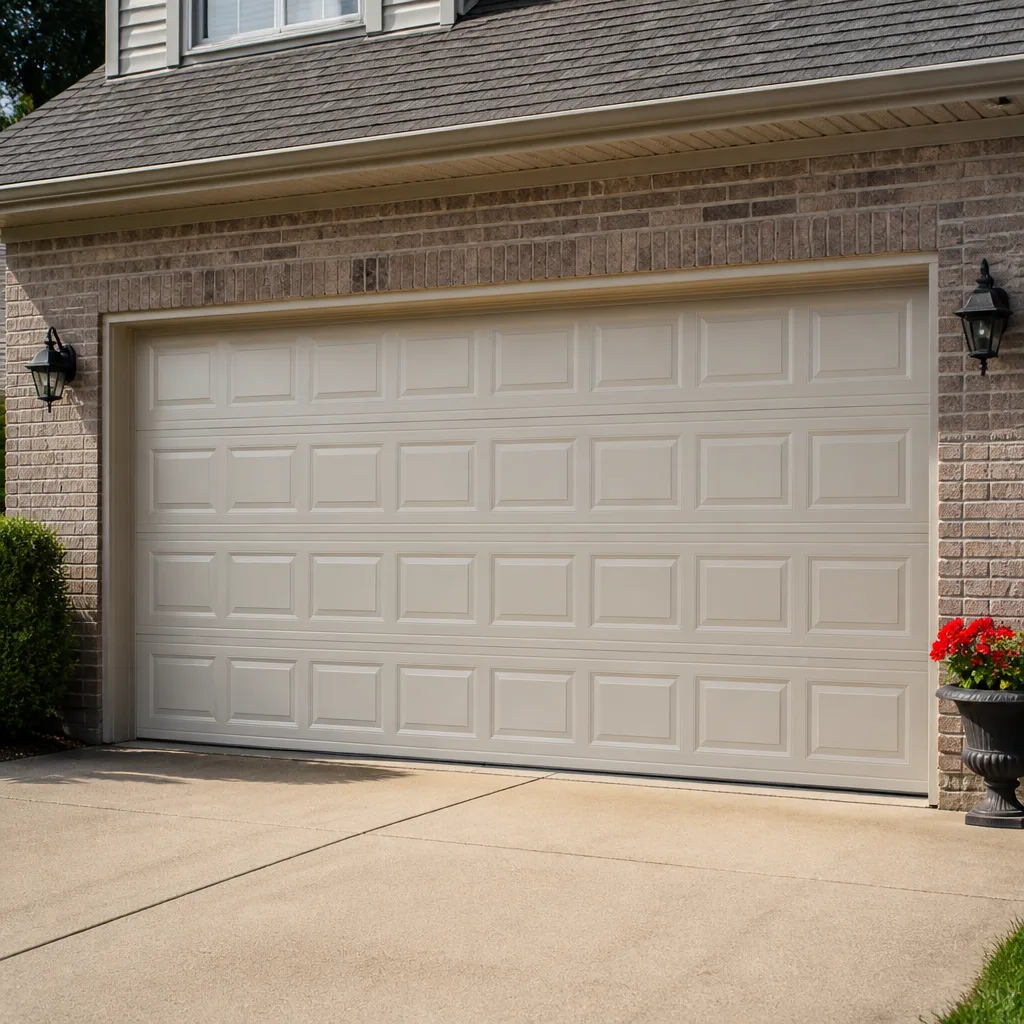 Raised-panel steel
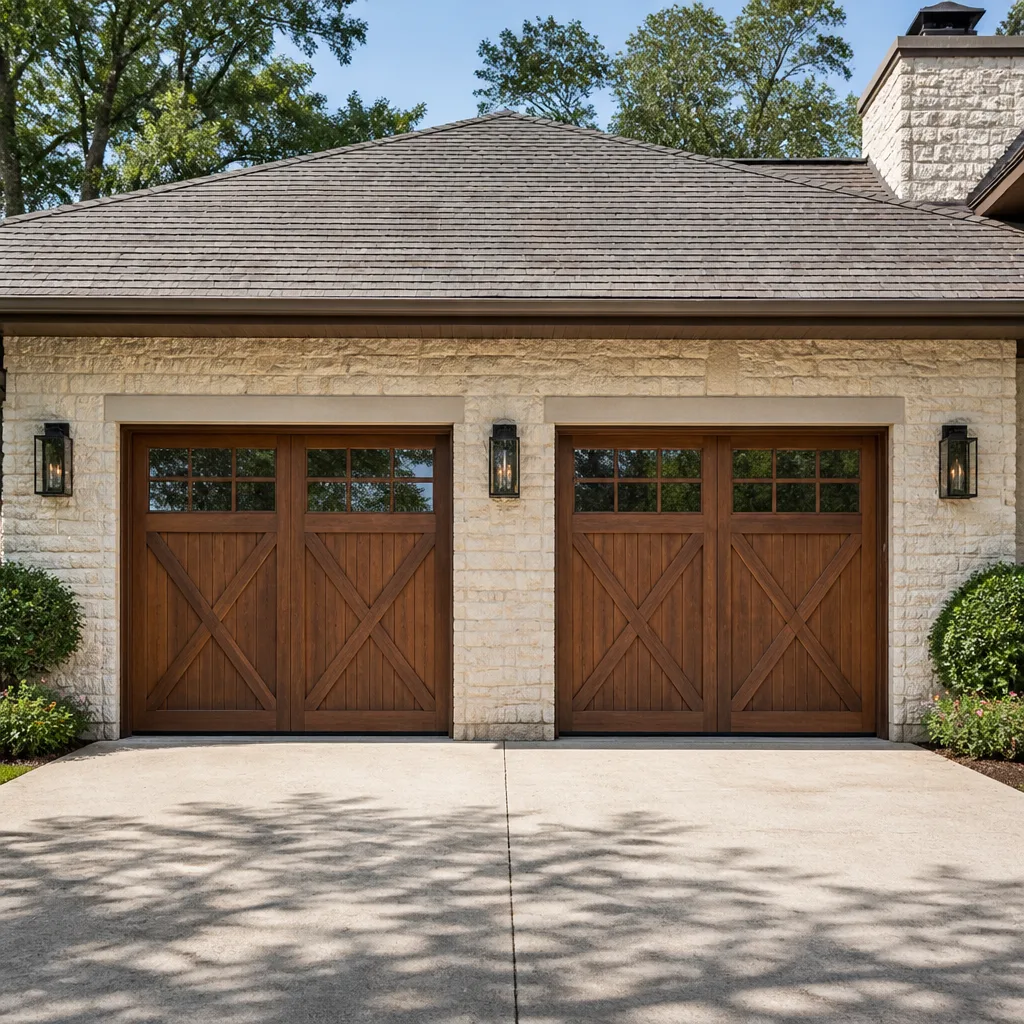 Carriage house
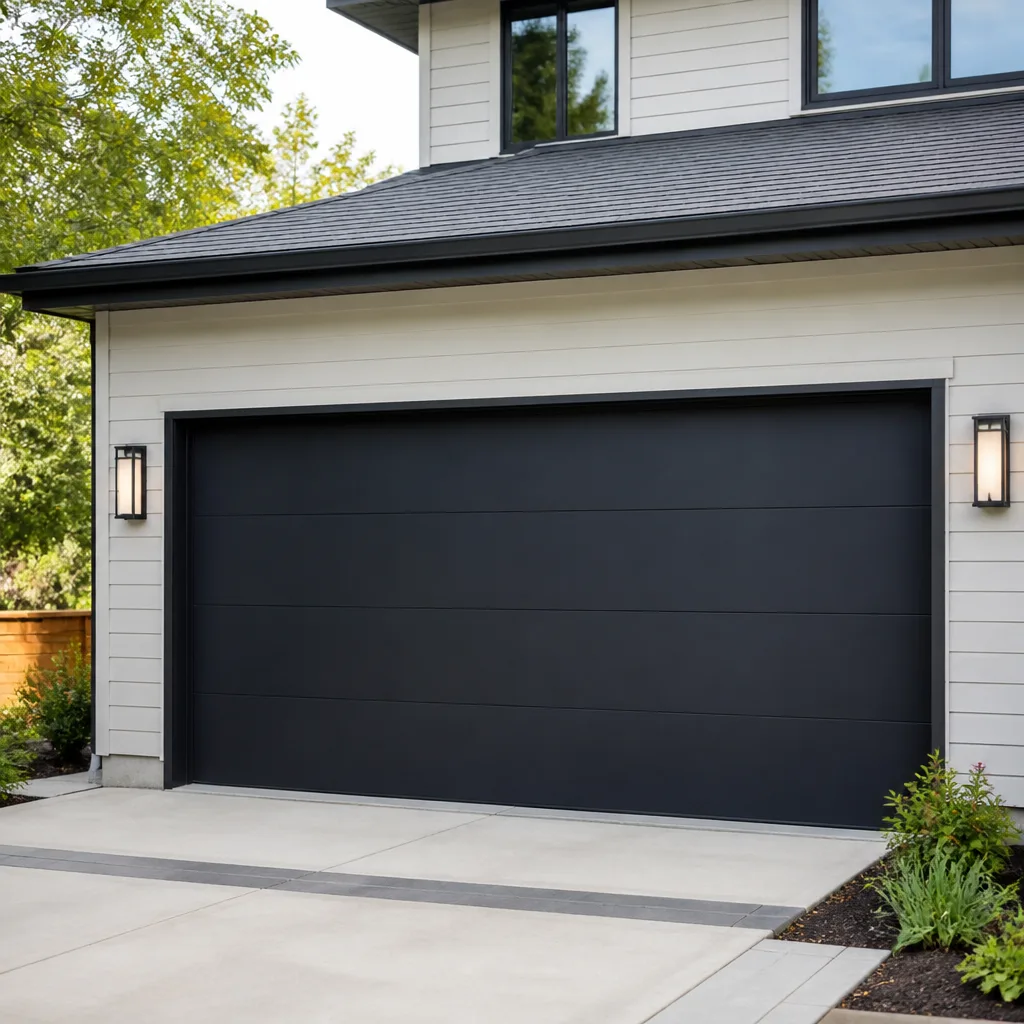 Modern flush
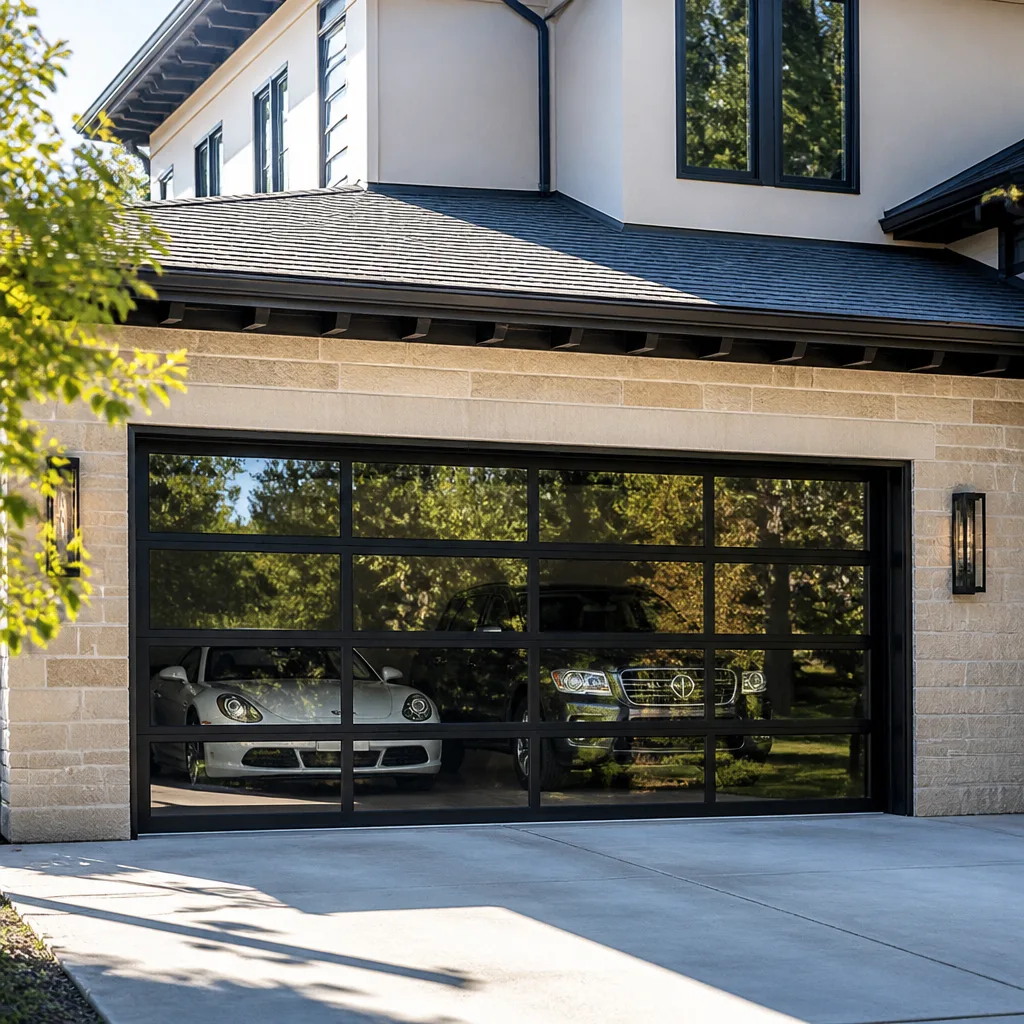 Full-view glass
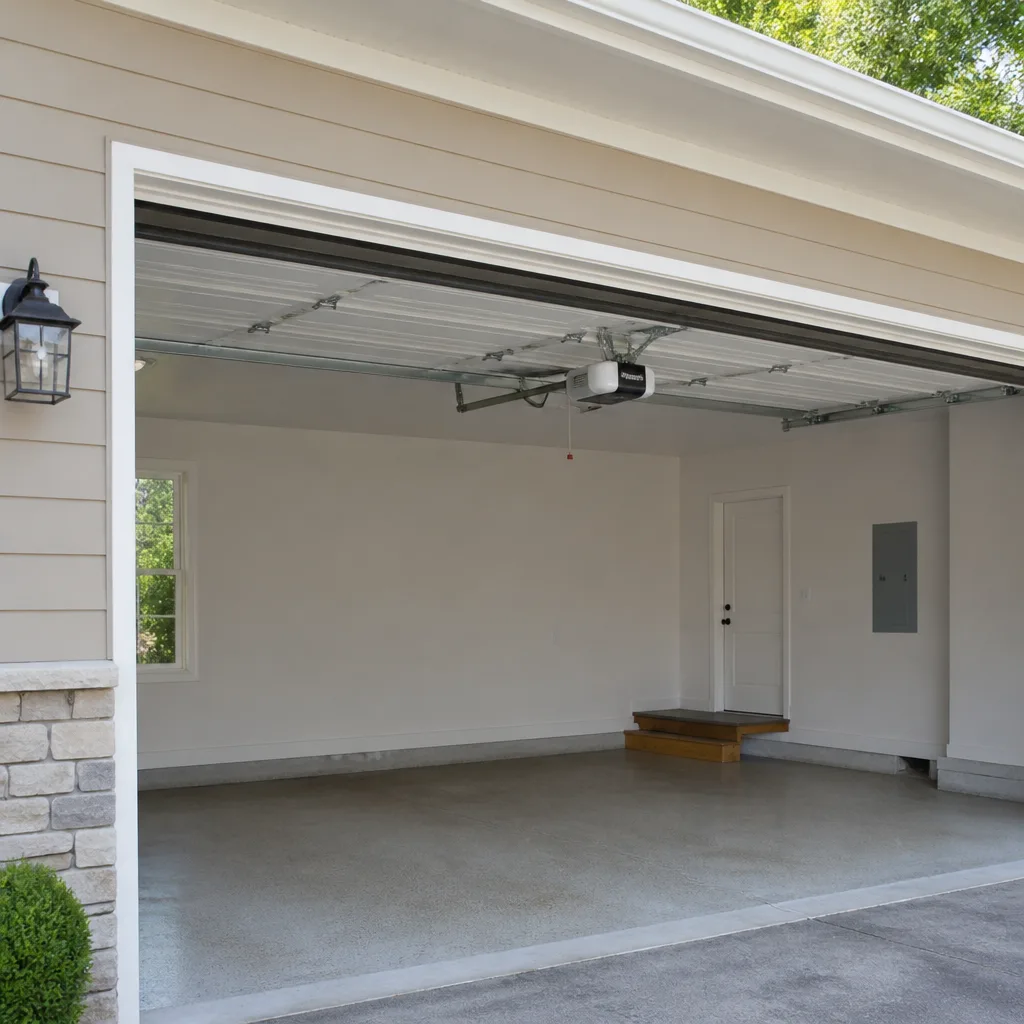 LiftMaster openers
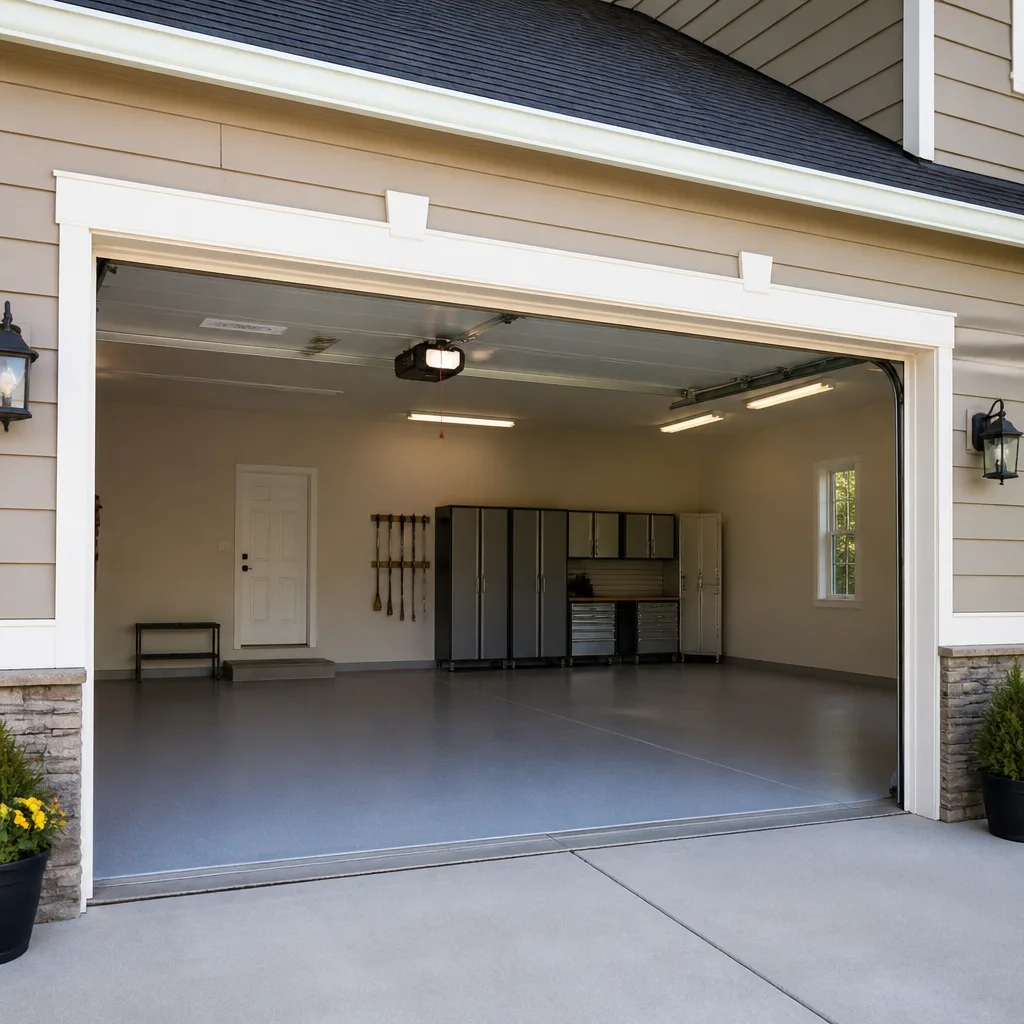 Chamberlain openers
Full 25-point door and opener safety check with every visit - springs, cables, rollers, tracks, and your LiftMaster or Chamberlain opener included
You get a price before we start. It does not change when the pro arrives.
Get your free estimateDIY vs Professional Garage Door: The Hackensack Homeowner’s Decision Guide
Most garage door advice splits into two useless camps: “never touch it, call a pro” and “anything is a weekend project if you’re brave enough.” Both are wrong. The real question isn’t whether you’re handy enough to work on a garage door. It’s whether the specific task in front of you carries genuine injury risk or whether it’s a straightforward job where paying a technician is simply a convenience choice. A torsion spring stores enough energy to cause serious injury when it releases unexpectedly. Adjusting a photo-eye sensor or replacing a bottom weatherstrip seal carries no meaningful risk at all. Treating those tasks the same way costs Hackensack homeowners money they don’t need to spend, or worse, sends them to the emergency room. This guide draws the line clearly, task by task.
Quick Answer
Safe DIY in Hackensack covers sensors, weatherstripping, lubrication, visual inspections, and light track adjustment. Professional-only covers torsion spring work, cable replacement, and anything involving the door’s counterbalance system. Everything else falls into the middle: doable with the right tools and genuine research, risky with guesswork. If you’re unsure which category your job falls into, that uncertainty itself is your answer.
Styles & brands we work with
- Raised-panel steel
- Carriage house
- Modern flush
- Full-view glass
- LiftMaster openers
- Chamberlain openers
Table of Contents
- The Three-Category Framework: Safe DIY, Careful DIY, Professional-Only
- Why Torsion Springs Are Different From Every Other Spring
- The Tools You Actually Need (And the Kits You Shouldn’t Buy)
- How to Judge a Repair Tutorial Before You Trust It
- The Cost Comparison That Actually Matters
- Hackensack Homes, Older Doors, and What Local Conditions Do to Hardware
- When a Small DIY Job Signals a Bigger Problem
- Common Mistakes to Avoid
The Three-Category Framework: Safe DIY, Careful DIY, Professional-Only
The best way to decide whether to pick up a wrench or pick up the phone is to sort the job into one of three buckets before you do anything else. This framework isn’t about confidence. It’s about consequence. A task where the worst outcome is a crooked weatherstrip belongs in a different category than one where the worst outcome is a broken wrist.
Category 1: Safe DIY
- Photo-eye alignment and cleaning. If your door reverses for no obvious reason, the safety sensors near the floor are the first thing to check. Wiping the lenses and nudging them back into alignment is harmless.
- Replacing bottom weatherstrip seals. A worn seal lets cold air, water, and insects into a Hackensack garage. Pulling the old one and sliding in a new length of vinyl or rubber seal requires no special skill.
- Lubrication. Hinges, rollers, and the torsion shaft get a garage-door-specific lubricant. This is maintenance, not repair, and it extends hardware life measurably.
- Visual inspection. Look at cables for fraying, springs for gaps, rollers for flat spots, and the door’s balance by hand. Observing costs nothing.
- Replacing remote batteries and re-pairing remotes. Straightforward on any LiftMaster, Chamberlain, or Genie unit, and the manual covers it.
- Tightening loose hinge and bracket bolts. Snug, not torqued. The brackets that hold the torsion shaft are the exception: leave those alone.
Category 2: Careful DIY
- Minor track adjustment. A door that binds slightly may need a track bracket tapped back into plumb. The door must be fully down and the springs relaxed before you touch anything, and the bolts must be loosened, not removed.
- Roller replacement. The door must be in the down position and the tension off. Nylon rollers on a Wayne Dalton door, for example, are simple once the tension question is handled safely.
- Panel replacement on a sectional door. Doable, but panels are heavy, alignment matters, and the door must be blocked open before you start.
- Opener programming and travel-limit adjustment. On newer LiftMaster and Chamberlain units, the logic board and manual make this manageable. Older Craftsman chain drives require more careful reading.
Category 3: Professional-Only
- Torsion spring replacement or adjustment. Covered in its own section below. Not negotiable.
- Extension spring replacement on older doors. Lower stored energy than torsion, but still enough to break a hand or worse if released wrong.
- Cable replacement. Cables are under tension whenever the door is up. Fraying or slack means stop using the door.
- Bottom bracket and drum work. The bottom bracket holds the cable and drum under load. This is one of the most dangerous parts of the whole door.
- Opener replacement, new door installation, and any structural work. Weight, spring matching, header attachment, and safety-reversing calibration all have to line up correctly.
The reason this framework works is simple. Category 1 tasks cost you a few dollars in parts and an hour. Category 3 tasks are the ones where garage door spring repair skills matter and the risk-to-savings ratio never works out in a homeowner’s favor.
Why Torsion Springs Are Different From Every Other Spring
Most garage door springs are torsion springs, mounted horizontally above the door on a metal shaft. A torsion spring holds the entire weight of your door under winding tension, and that energy has to be set precisely with winding bars. Cracking the wrong bolt or popping a winding bar out of place during the process releases stored force in a fraction of a second. That’s the entire reason this task belongs to trained technicians. Our technicians have up to 12 years of experience, and they treat torsion spring work as a safety-critical job every single time, not a routine task with a torque value.
Here’s where homeowners get confused. There’s a widespread idea that “spring work” is one category of risk. It isn’t. Extension springs, common on some older doors, stretch along the sides and have lower stored energy. Torsion springs hold far more. That’s why extension springs, in most cases, could reasonably be described as a careful DIY task with proper research and safety cables. Torsion spring work never could.
The mechanical reason matters too. Torsion springs come in different wire gauges and lengths, each matched to the door’s weight and balance point. Putting a spring of the wrong size on a door throws that balance off. The opener then works harder than it should, the door becomes harder to lift by hand, and the whole assembly wears faster. This is where DIY spring replacement usually fails even if the installer doesn’t get hurt: the door technically works, but the wrong-sized spring shaves years off the opener’s life.
Whether you have a Raynor door with a heavy steel construction or a Clopay with a lighter multi-layer panel, the principle holds. Find the spring by hand, do not attempt to unwind or wind it yourself, and get a technician on it. Same door, same day, and the door works the way it should.
The Tools You Actually Need (And the Kits You Shouldn’t Buy)
If your DIY work stays in Category 1 and 2, you don’t need much. A basic homeowner toolkit plus a few inexpensive additions covers nearly everything on the safe and careful lists. The problem is that “garage door maintenance kit” products sold online advertise a full solution and rarely deliver one.
Tools that genuinely help
- Nut drivers and a socket set in the sizes your door’s hinges and brackets actually use. Check the measurements, not the marketing.
- Adjustable wrench. For track bracket bolts and roller shaft nuts in the careful-DIY category.
- Garage door lubricant. Silicone or lithium grease made for garage doors, not WD-40, which attracts dust and dries out.
- A sturdy stepladder. Wide enough to stand comfortably on the top rung without leaning. Falls from a ladder working on a door track are avoidable.
- Eye protection. Non-negotiable for anything involving cables, brackets, or track work. Even inspecting a frayed cable deserves safety glasses.
- Replacement rollers or weatherstrip cut to size. Buy from a source that lists the weight class and fitment, not a generic universal kit.
Kits to skip
Universal “garage door spring kits” sold online are frequently undersized for real residential hardware. A kit that fits a lightweight single-car door won’t safely replace the spring on a heavier double-car door, and forcing it to fit damages the door and the opener. The same goes for universal roller kits with plastic rollers rated below the door’s weight class. Buy the specific part for your door’s weight and model, not a bundle priced for convenience.
Beyond that, there’s one tool you should not buy for a residential garage door: a DIY winding bar or spring torque tool sold as a “safety solution” to a homeowner. It is not.
How to Judge a Repair Tutorial Before You Trust It
The internet is full of garage door repair videos. Some of them are excellent and will genuinely save you a service call. Others were filmed by someone with a slightly different door and a loose grasp of load considerations, and following their steps can turn a small job into a large one.
Here’s what makes a tutorial credible:
- It names the exact brand and model. “How to adjust travel limits on a LiftMaster” is more useful than “how to adjust travel limits.” The logic boards and limits differ noticeably between LiftMaster, Genie, and older Craftsman units.
- It shows the door’s full weight and configuration. A method that works on a single-car door with a lightweight panel may not work on a double-car door with insulated steel panels.
- It demonstrates the tension being released safely before work starts. If the video skips this step, close the tab.
- It uses correct terminology matching your equipment. Hinges, brackets, rollers, and drums should be referenced the way the manufacturer’s manual references them.
- It comes from a source that shows the whole process. Short cut-down clips missing the dangerous steps are not tutorials; they’re teasers.
Watch for these signs a tutorial was filmed on the wrong equipment:
- The presenter is working on a heavier commercial-grade door but stays silent about weight class and spring matching.
- The door’s balance test isn’t demonstrated, because the balance test is what reveals whether the spring is correctly sized.
- The steps assume motorized winding or spring tools that aren’t standard homeowner equipment.
- The comments show other homeowners who tried it and found their door behaved completely differently afterward.
- No mention of what could go wrong, or only reassurances that “it’s easier than it looks.”
A good tutorial tells you when to stop. A bad one reassures you the whole way through. If you’re doing careful-DIY work in Hackensack, one video that flags the danger clearly is worth ten that pretend it doesn’t exist.
The Cost Comparison That Actually Matters
Most “DIY vs professional” comparisons compare the cost of parts to the cost of a callout. That is the wrong comparison. The real cost equation is: original professional quote versus DIY-gone-wrong repair cost. Here’s what that looks like in practice.
| Scenario | What You Spend | What You Get |
|---|---|---|
| Torsion spring repair, professional | Written estimate for one spring, or roughly double for a matched pair | Correct spring, safe install, door balanced, opener not working harder than it should |
| Torsion spring DIY, successful | Cost of the actual correct spring | Same result, if you got the size right, released the tension safely, and didn’t hurt yourself |
| Torsion spring DIY, wrong spring size | Spring + second spring + potentially new opener | A door that worked for weeks, then started wearing rollers and the opener motor |
| Torsion spring DIY, injury or released spring | Spring + medical bill + professional repair to fix what went wrong | The original professional estimate looked like a bargain |
| Photo-eye sensor adjustment, DIY | Nothing or a cleaning cloth | Working door, ten minutes |
| Photo-eye sensor adjustment, professional | Full service call | Same result, minus ten minutes of your time |
The pattern is obvious once you see it. On Category 1 tasks, DIY almost always wins on cost. On Category 3 tasks, DIY only wins if everything goes perfectly, and the parts cost savings disappear entirely the first time something goes wrong. Every quote we give is set in writing before work starts, so the final price matches the number on the quote. No surprises after the fact.
If your door has an opener problem rather than a spring problem, the same math applies. garage door opener repair on a smart LiftMaster unit with a Wi-Fi board or a legacy Craftsman chain drive is straightforward when the installer knows which components to isolate, and genuinely confusing when they don’t.
Hackensack Homes, Older Doors, and What Local Conditions Do to Hardware
Hackensack covers a lot of ground for a city of its size, and that range matters for garage door decisions. Neighborhoods like Fairmount and the Heights tend to have older housing stock with doors that have been on the house for decades. The Upper Main Street and Coles Street areas have more mixed residential commercial transitions and newer builds mixed with older attached garages. Each of these puts different stresses on the same hardware.
The specific conditions that matter most in Bergen County:
- Freeze-and-thaw cycles each winter and spring. The bottom weatherstrip on a Hackensack door takes the worst of it. Ice buildup and repeated freezing can crack or warp the seal over a few seasons. Replacing it is Category 1 DIY work.
- Summer humidity. Metal tracks and steel panels expand and contract through the year, and over time brackets need re-tightening. Dry summer air and cold winter air stress the door in different ways.
- Road salt and snow pack kicked up from driveways. This reaches the bottom brackets and hardware over time, causing rust that loosens fasteners and shortens roller life. Not a reason to repaint the whole door, but a reason to inspect the bottom hardware every spring.
- Aging opener electronics. Older homes often still have their original Craftsman or Genie drive units. When those fail, replacement choices are more involved than swapping a board.
- Residential code compliance on new installs. Replacing a door or opener in Hackensack requires checking whether the city’s building department wants a permit. Most cities require it for a full door replacement, so ask your city’s building department before you schedule the job.
The bottom line for Hackensack homeowners: if the door is 15 or 20 years old and you’re considering a first repair, get a professional evaluation before you buy any DIY parts. What looks like a worn spring is sometimes a door that’s ready for replacement, and both choices are legitimate, but only one is worth spending money on.
When a Small DIY Job Signals a Bigger Problem
Category 1 work often reveals Category 3 problems. A bottom weatherstrip replacement is quick, but if the door feels unusually hard to lift by hand while you’re doing it, the issue is almost certainly spring balance, not the seal. A door that reverses unexpectedly when you adjust sensors might have a sensor issue or might have a warped track that’s physically blocking the door’s path.
Run through this checklist any time you’re doing maintenance on the door:
- Disconnect the opener and lift the door by hand. A properly balanced door lifts with modest force and stays put, roughly halfway up. If it’s hard to lift or slams down, the springs are out of balance.
- Look at the cables. Any fraying, kinks, or slack where there should be tension means stop using the door.
- Look at the springs. A visible gap in a torsion spring means the spring is broken. Do not try to operate the door even once.
- Check the tracks. If the door binds or scrapes on one side, the tracks need professional realignment, not a hammer.
- Listen to the opener. Grinding, straining, or a door that opens unevenly points to a mechanical problem the opener is trying to compensate for.
- Check the hinges and rollers. Flat spots, worn bushings, or rusted hinge plates can be replaced one at a time, but if several show the same wear, the door is out of balance.
Every one of these checks is free. Every one of them tells you whether the small job in front of you is actually a small job.
Common Mistakes to Avoid
- Buying a universal spring kit for a heavy door. Kits sold online often fit a lightweight single-car door, not the door in a full-height Hackensack garage. Wrong weight class, wrong result.
- Trying to save money by skipping the balance test after a repair. If the door doesn’t stay open roughly halfway up when disconnected from the opener, the repair wasn’t complete.
- Assuming a sensor problem is always a sensor problem. Doors that reverse can also have a track obstruction or a limit switch set wrong. The sensor is just the easiest to check first.
- Working on a door with the springs energized. Split wedge, or bottom bracket work, both need tension removed first. Skipping that step is the single most common way homeowners get hurt.
- Trusting a tutorial that never names the model. A method that works on a LiftMaster logic board may confuse anyone with a Genie unit. The model matters, not just the brand.
- Ignoring a frayed cable because the door “still works.” Cables are load-bearing. A frayed cable can snap without warning, and the door can drop.
- Replacing the opener when the door itself is the problem. A new opener on an out-of-balance door will fail the same way the old one did, faster than you’d expect.
See the difference
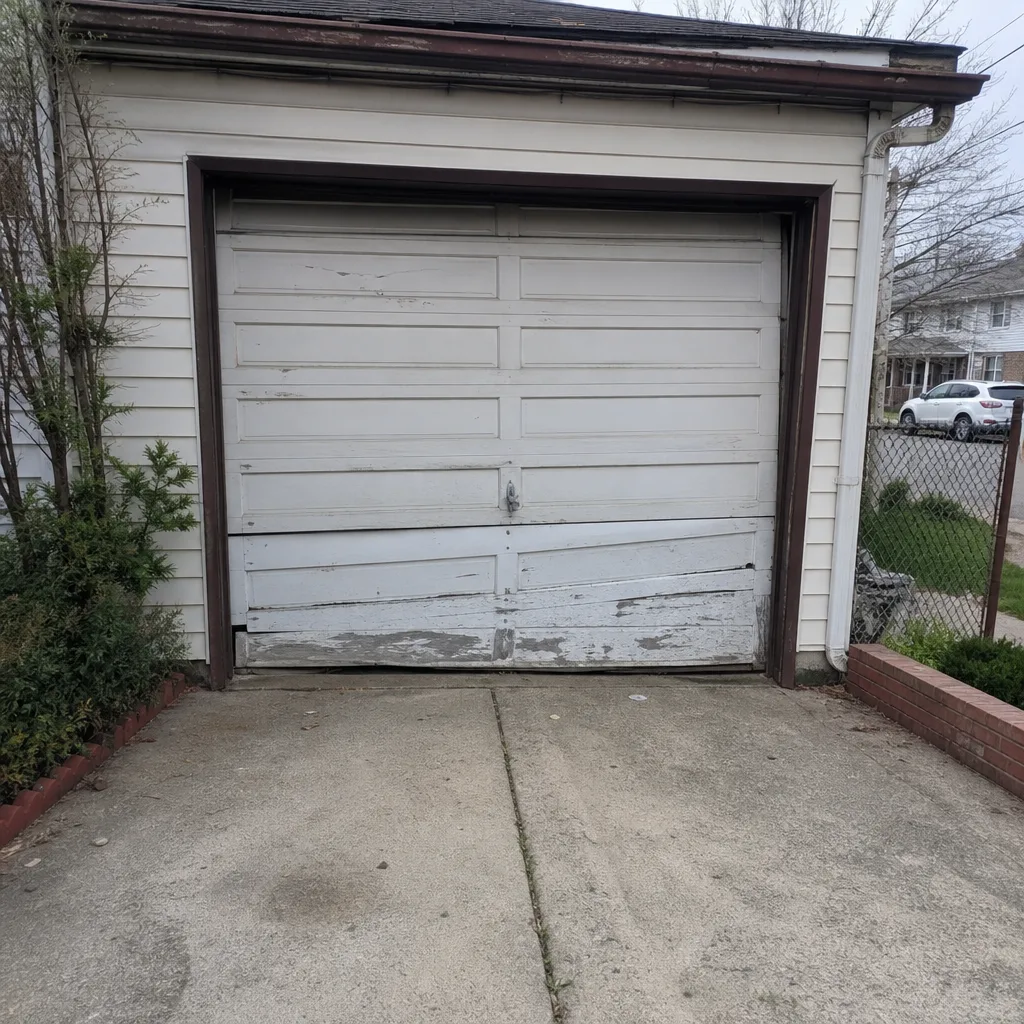 Before
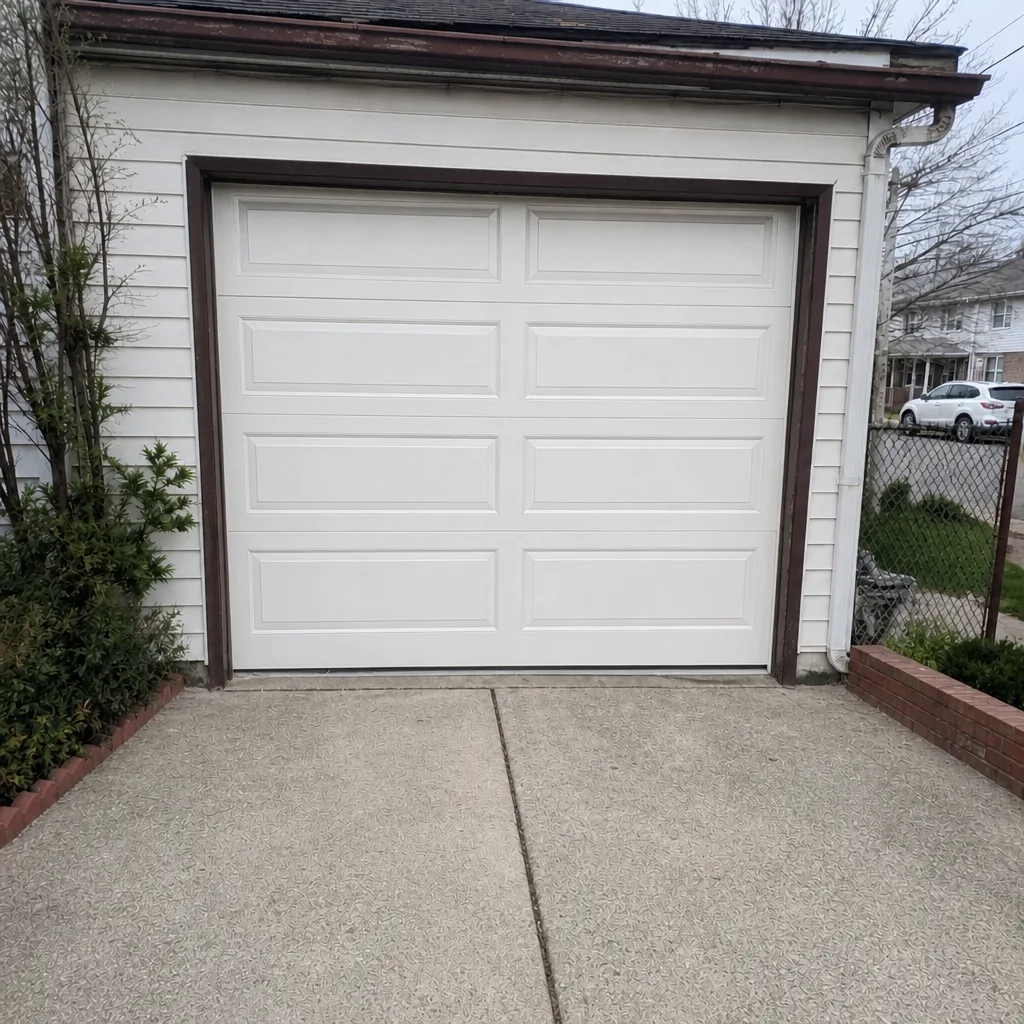 After
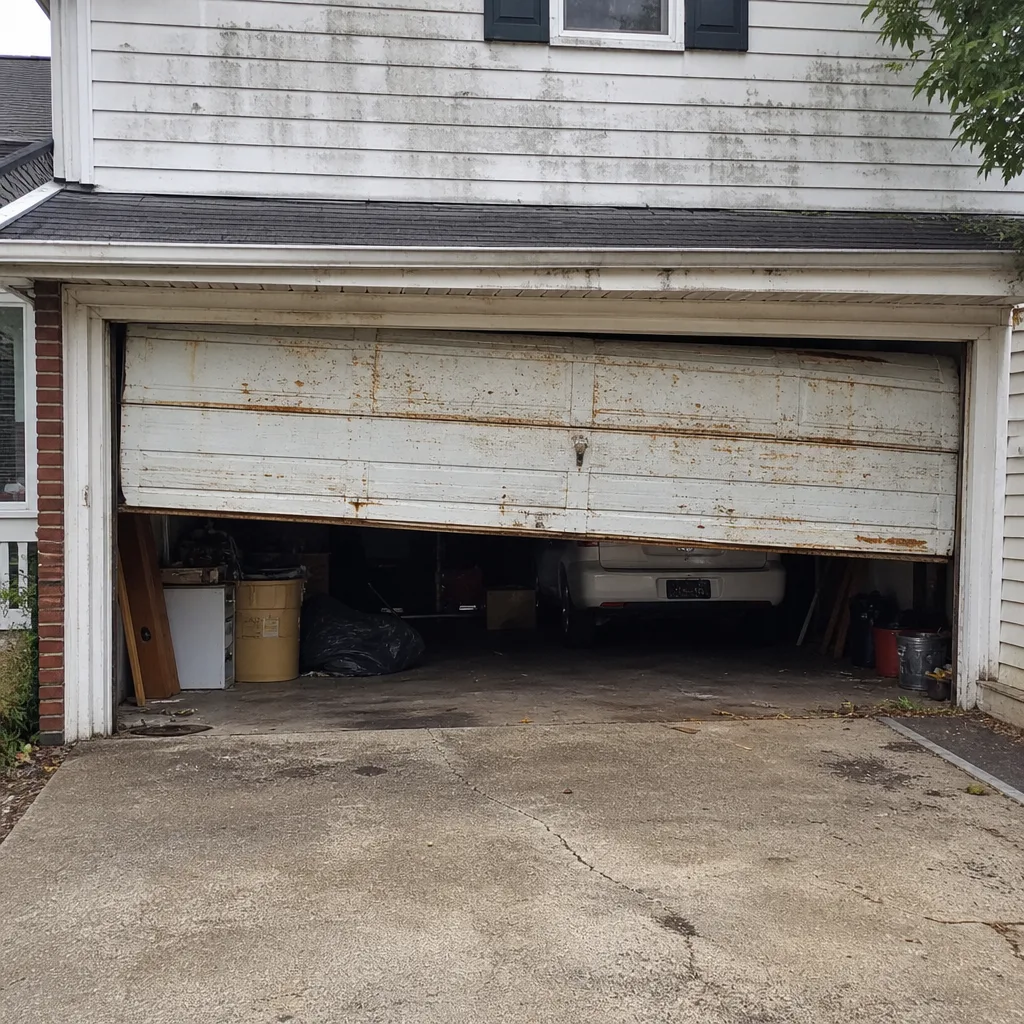 Before
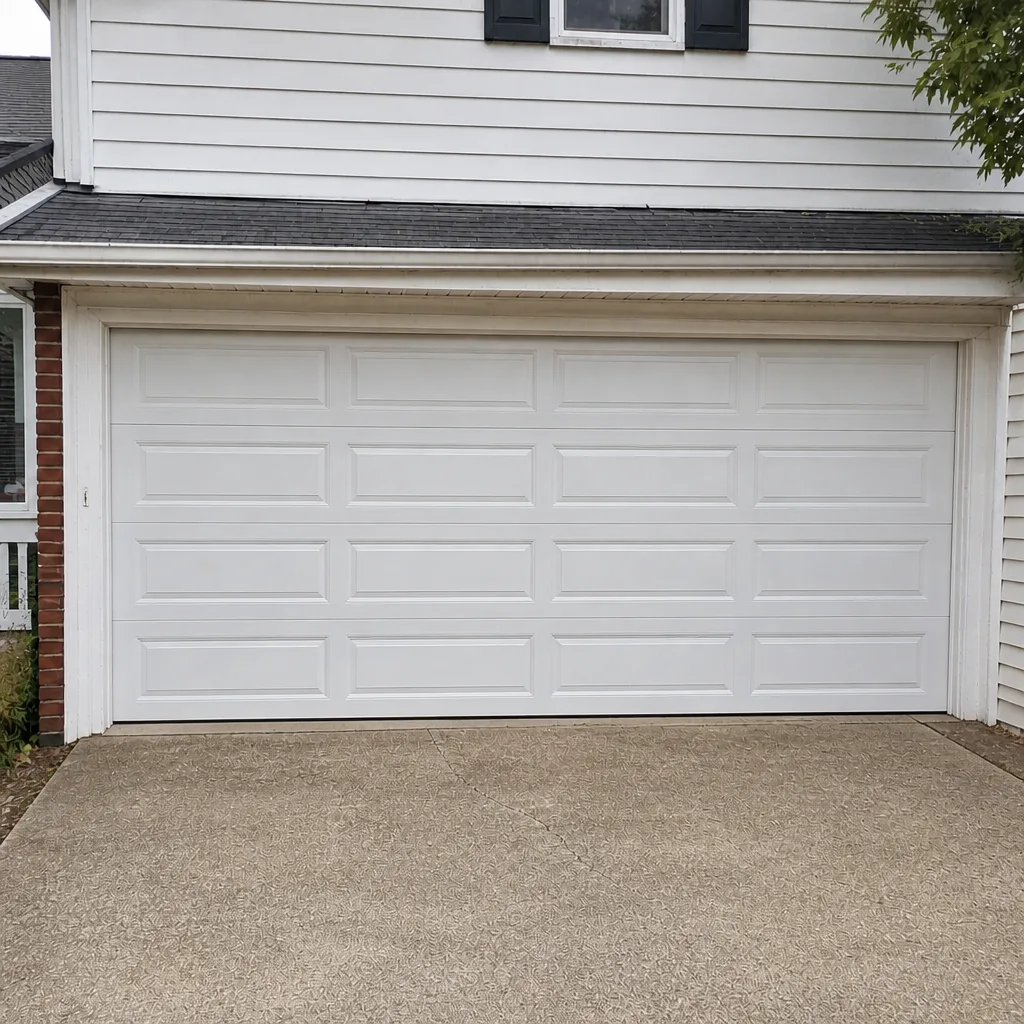 After
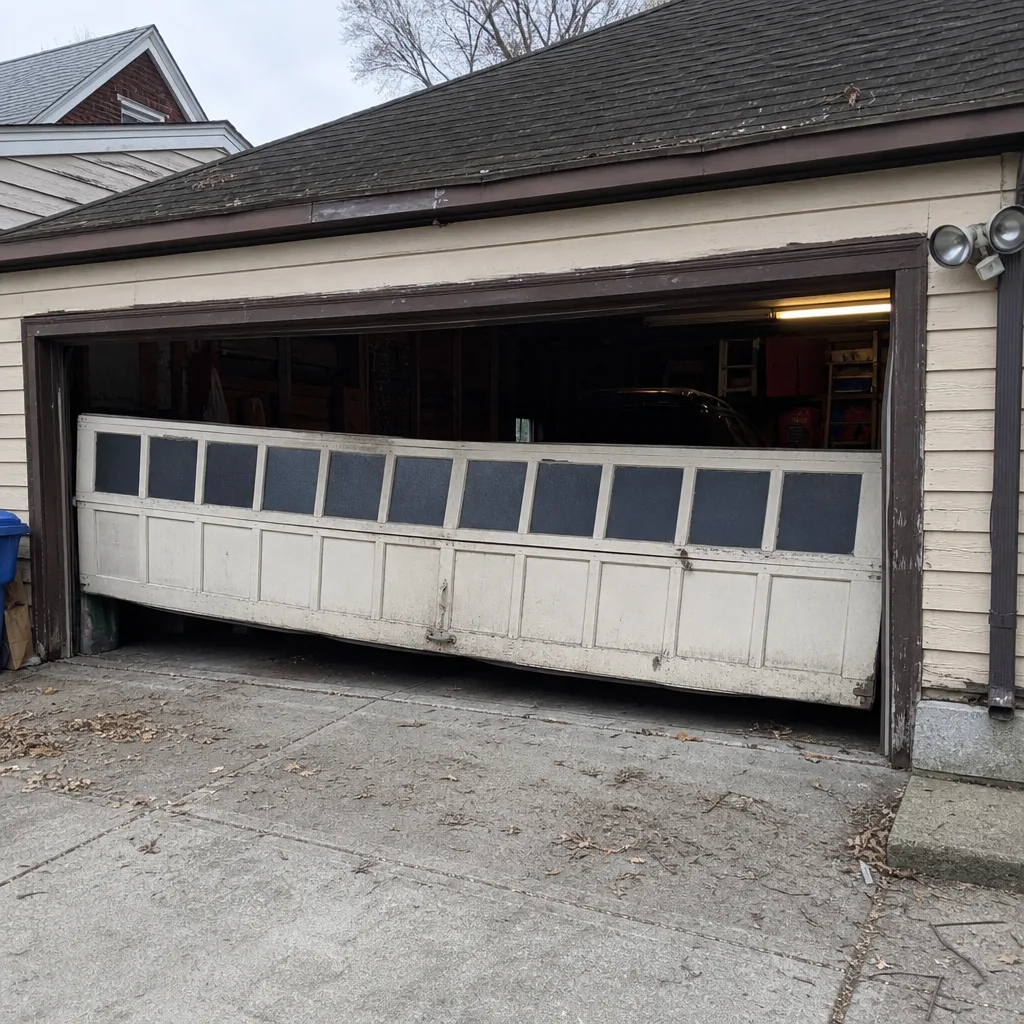 Before
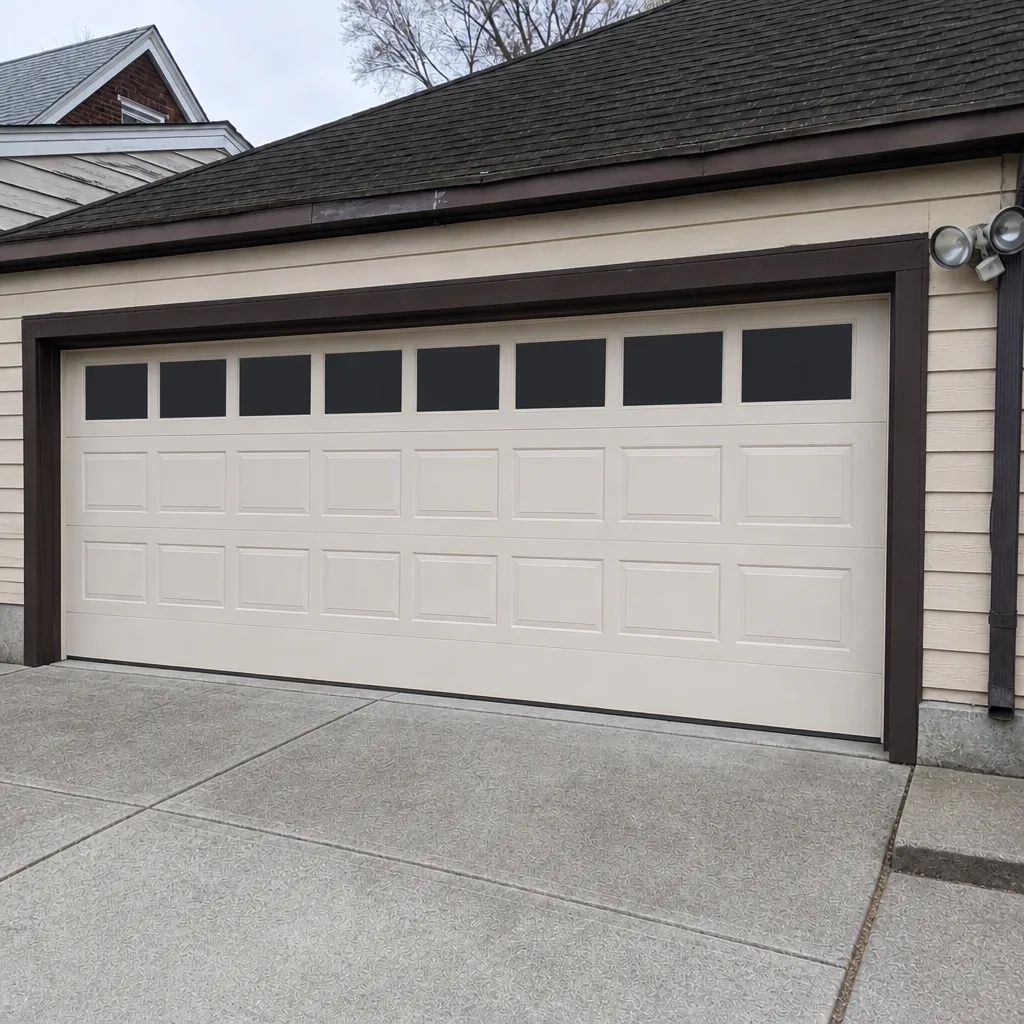 After
When to Call a Professional
Call a professional the moment your task lands in Category 3, and don’t wait on it. That means any torsion spring work, any frayed or slack cable, any door that won’t stay open by hand, any bottom-bracket or drum involvement, and any full door replacement, opener replacement, or structural change. It also means any moment when you’re genuinely unsure what’s wrong. A door that reverses unpredictably, a spring with a gap, or a door that’s become dramatically heavier than it used to be are all cases where doing nothing for a few more days risks more damage to the opener and surrounding hardware.
For repairs, we answer 24/7 and run fast dispatch from 7am to 7pm. Same door, same day on most repairs. For new doors and openers, we schedule a free measure first and give you a written price before any work starts. Hackensack Garage Door Repair Pros offers free estimates in Hackensack – call (844) 959-3216. We answer 24/7. Fast dispatch from 7am to 7pm, Sunday through Friday. A call outside dispatch hours is booked into the next opening.
Frequently Asked Questions
No. Torsion springs store enough energy to cause serious injury when released, and winding or unwinding them requires specific tools and training. Extension springs on older doors carry less stored energy but still need safety considerations. Leave spring work to a professional. Call (844) 959-3216 for a free estimate. We answer 24/7.
The price is per spring and set in writing before any work starts. A matched pair, which is usually what’s replaced together, costs roughly double a single spring. Because the written estimate sets the final figure, the number you get from us is the number you’ll pay. Call (844) 959-3216 for a free estimate.
Sensor cleaning and alignment, weatherstrip replacement, lubrication, visual inspection, tightening loose hinge and bracket bolts (not torsion hardware), remote battery changes, and re-pairing remotes. Anything that touches the springs, cables, bottom brackets, or the door’s balance belongs to a trained technician.
The written quote is the price. We set the estimate after inspecting the door, and that figure stands unless you ask us to add work. Call (844) 959-3216 for a free estimate.
The local pro who performs the work is licensed and insured as their state requires. Our technicians have up to 12 years of experience across LiftMaster, Chamberlain, Genie, Clopay, Amarr, Wayne Dalton, Craftsman, and Raynor equipment.
Most repair calls can be handled same day. We answer 24/7 and run fast dispatch from 7am to 7pm. A call outside dispatch hours is booked into the next opening, Sunday through Friday. Call (844) 959-3216 for a free estimate.
The Bottom Line
Garage door repair decisions get easier when you stop asking “am I handy enough?” and start asking “what happens if this goes wrong?” Sensor alignment, weatherstrip replacement, lubrication, and careful inspection belong in the DIY pile because the worst outcome is a crooked weatherstrip. Torsion spring work, cables, bottom brackets, and full replacements don’t. Category 2 jobs like minor track adjustment and roller swaps sit in the middle: doable with the right tools and genuine research, risky with guesswork. The math rarely favors DIY on the risky jobs once you account for what a wrong-sized spring or a slip costs. If you’re ever unsure which bucket your job belongs in, that’s the answer. Call (844) 959-3216 for a free estimate on any repair, replacement, or new installation in Hackensack.
For a service that handles repair, opener work, spring repair, and installation in one place, see Hackensack Garage Door Repair Pros.
Written by the team at Hackensack Garage Door Repair Pros.