
Last updated November 21, 2026
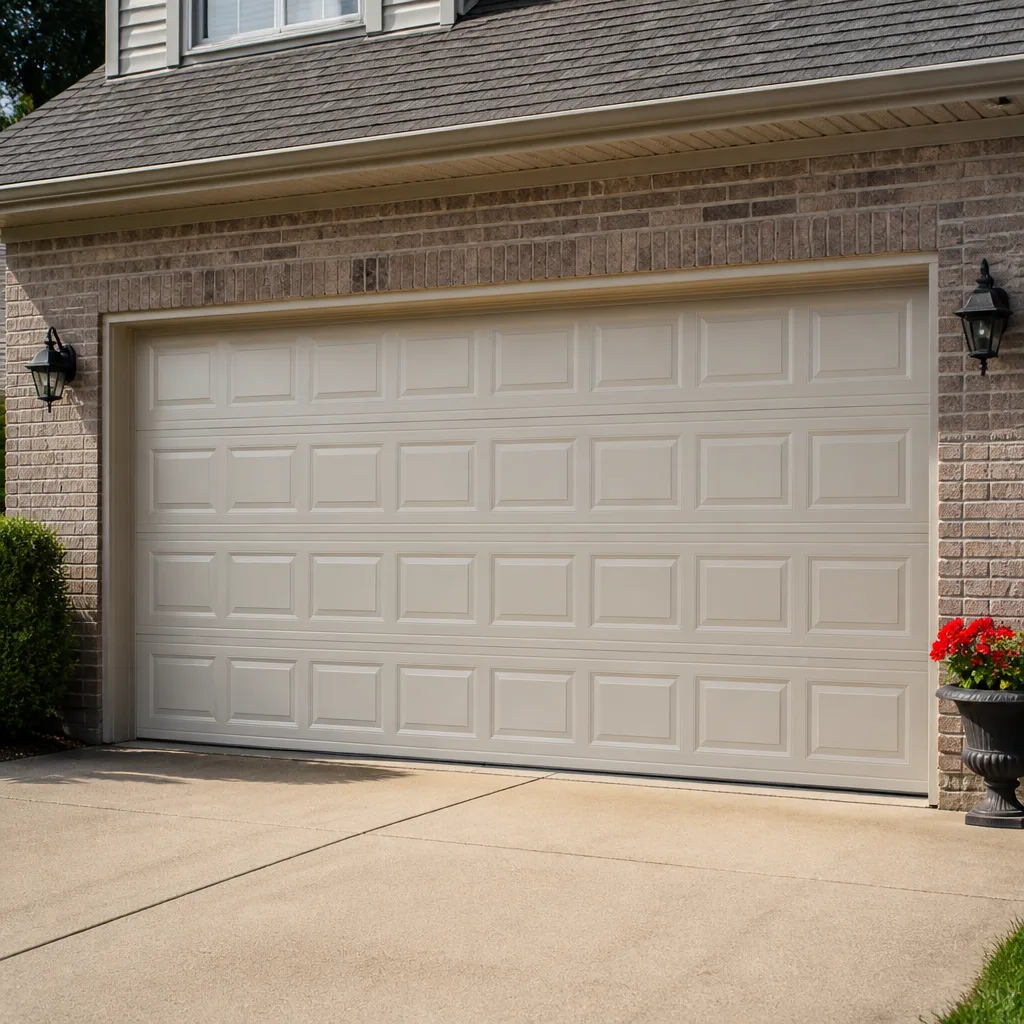 Raised-panel steel
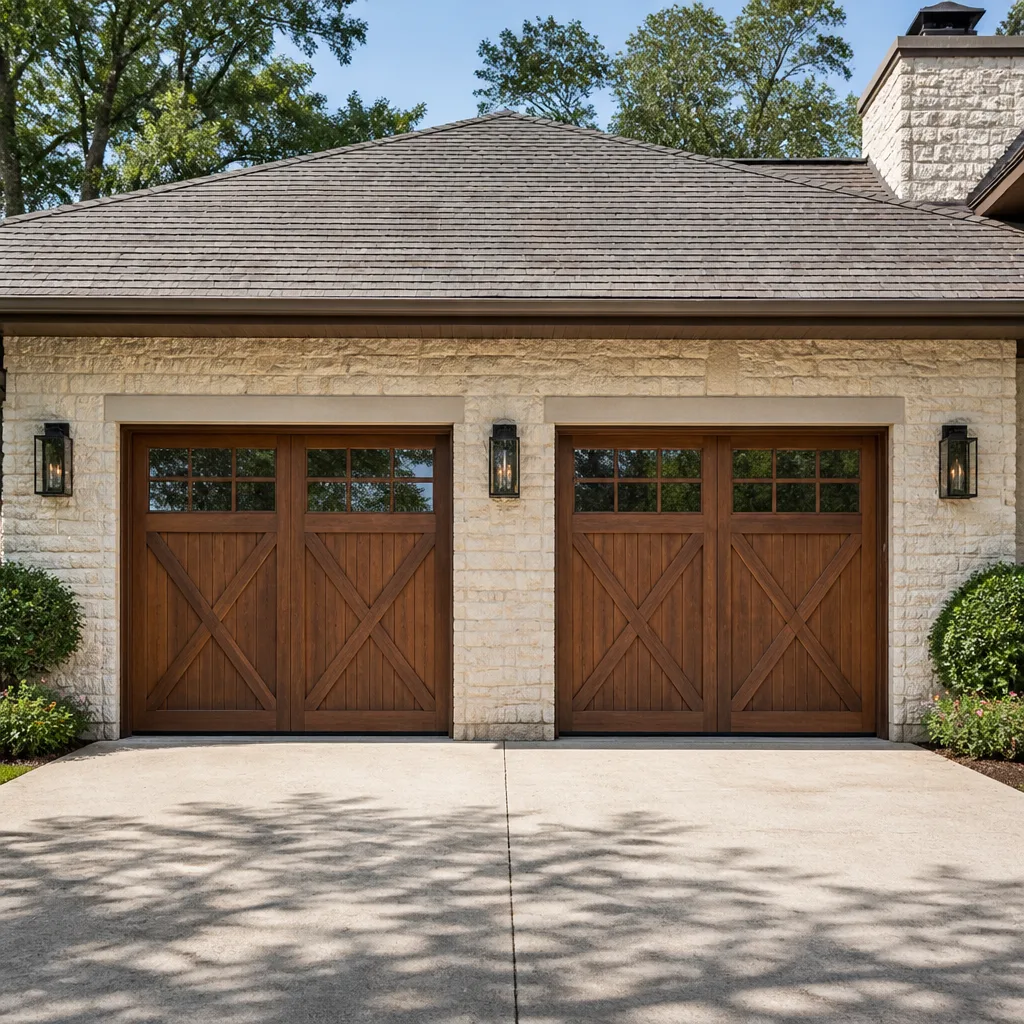 Carriage house
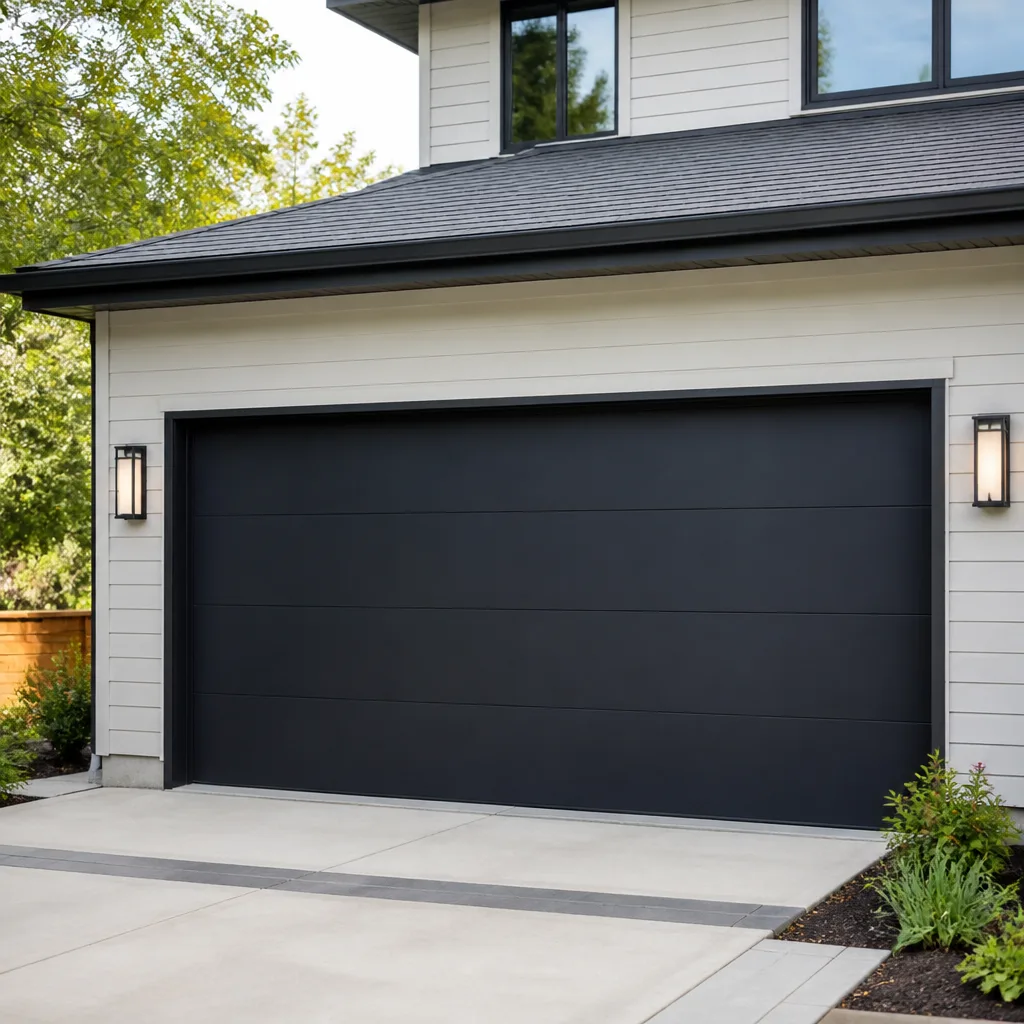 Modern flush
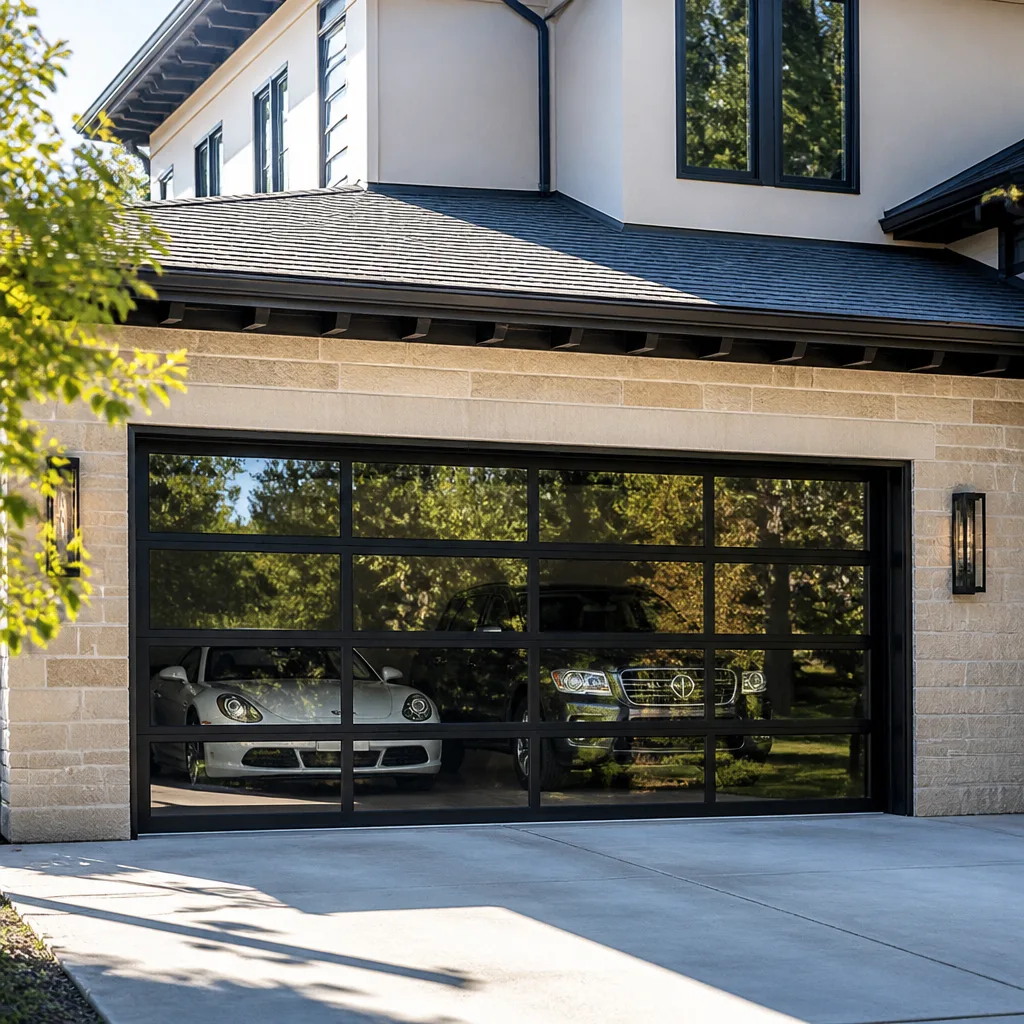 Full-view glass
 LiftMaster openers
 Chamberlain openers
Full 25-point door and opener safety check with every visit - springs, cables, rollers, tracks, and your LiftMaster or Chamberlain opener included
You get a price before we start. It does not change when the pro arrives.
Get your free estimateGarage Door Repair Maintenance Checklist for Hackensack Homeowners
A torsion spring doesn’t snap without warning. It leaves signs, and most of them are visible from the driveway with no tools at all. On the calls we handle around Hackensack, those signs have usually been sitting there for weeks before the door finally stops working. That’s the part that stings: the breakdown was preventable, or at least the emergency could have been a scheduled repair. This checklist is built around the failure patterns technicians actually see in Hackensack, not generic annual advice. You’ll get inspection intervals tied to the seasons, three lubrication points most people miss, a way to log what you see so a future repair conversation is faster, and balance, travel and safety-reverse tests you can run in under ten minutes using the door itself.
Quick Answer
A sound garage door maintenance routine for Hackensack means inspecting springs, cables, rollers and weatherstripping on a set schedule, testing balance, travel limits and auto-reverse every few months, and jotting dated notes on anything that changes. Springs and cables get a visual check monthly and a closer look at every season change, rollers and hinges get lubricated about twice a year, and weatherstripping is checked before each winter and after each summer. Anything involving a torsion spring, cable or bottom bracket is a job for a trained technician, not a homeowner with a winding bar.
Styles & brands we work with
- Raised-panel steel
- Carriage house
- Modern flush
- Full-view glass
- LiftMaster openers
- Chamberlain openers
Table of Contents
- How a Hackensack Garage Door Fails
- The Monthly Five-Minute Walkaround
- Springs and Cables: The Parts That Stop the Door
- Rollers, Hinges and Track: What to Lubricate and What to Leave Alone
- Weatherstripping and Hackensack’s Seasonal Stress Points
- The Three Tests You Can Run in Ten Minutes
- Keeping a Dated Log That Saves You Money
- Opener Maintenance Most Owners Skip
How a Hackensack Garage Door Fails
Garage doors don’t fail in one moment. They fail in a sequence, and each step in that sequence is visible if you know where to look. In Hackensack, the sequence tends to follow the calendar more than people realize. Summer humidity softens wood and swells weatherstripping. Fall drops leaves and grit onto the tracks and into the rollers. Winter brings freeze-and-thaw cycles that work on the concrete and the door’s seals. Spring arrives with everything loosened up and ready to shift. A door that gets through all four without a look is a door running on luck.
The parts that give out first are predictable. Here’s the order technicians expect:
- Springs. Torsion and extension springs cycle thousands of times over a door’s life. They weaken gradually, then fail suddenly. A weakening spring makes the opener work harder for months before anything snaps.
- Cables. Cables fray, kink and pull loose from their drums. A cable failure is often the second domino after a tired spring.
- Rollers. Nylon and steel rollers flat-spot and seize. A seized roller drags the door along the track and wears the hinge points.
- Weatherstripping. The bottom seal and the side and top seals harden and crack. That lets water, cold air and pests in, and it makes the door bang instead of closing softly.
- Hinges and the track. Loose hinges work their screws out of the door, and a bent track turns every cycle into a scrape.
What most homeowners in Hackensack don’t realize is that these failures stack. A tired spring overworks the opener, the opener strains the cables, the cables wear the drums, and one day the whole thing stops together. Catching the first domino is the whole point of a checklist. It’s also why we treat garage door spring repair as core work rather than a side job, because springs are where the sequence usually starts and where a trained eye pays off most.
The Monthly Five-Minute Walkaround
You don’t need a toolbox for the monthly check. You need five minutes, a flashlight and the habit. Run this walkaround once a month, ideally from inside the garage with the door closed, then again with it open. Nothing here asks you to touch a spring or a cable.
- Look up at the springs. A torsion spring sits above the door on a shaft; extension springs run along the sides. Look, don’t touch. Note any gap, any rust-colored dust, any stretched or uneven coil. A spring that has already broken will show a visible gap between two coils.
- Run the flashlight along the cables. Cables run from the bottom corners up to the drums. Look for frayed strands, a kink, or a cable that’s come off its drum. A cable that has slipped is a stop-now condition.
- Scan the track. Both vertical and horizontal sections. Look for dents, bends and debris. A track that’s been bumped out of alignment is easy to spot because the door will rub the whole way up.
- Look at the rollers. Rollers sit in the hinges at the door’s edges and bottom corners. Look for flat spots, cracks in the nylon, or wobble. A cracked roller should be replaced before it drops out.
- Check the bottom seal. From outside, look under the closed door. Daylight or a visible gap means the seal is worn or the door isn’t sitting level.
- Listen. Run the door up and down once. Note any grinding, squealing, popping or banging. Write down what you hear and when it happens, whether on the way up, the way down, or both.
That’s it. Five minutes, no tools, no risk. The value is in doing it on a schedule, because a problem you spot twice in a row is a problem, and a problem you spot once might just be a leaf on the track. The monthly walkaround is also the fastest way to know when to call for garage door repair instead of waiting for the door to stop working entirely.
Springs and Cables: The Parts That Stop the Door
Springs and cables are the parts that carry the door’s weight, and they’re the parts most likely to hurt you if you get involved. A torsion spring holds serious stored energy. When a spring is under tension, a winding bar can slip and the spring can release. Cables under load can snap and whip. Garage doors are among the heavier moving assemblies in a house, and these two components exist specifically to hold that weight in check. That’s why we don’t hand out step-by-step spring instructions here, and why we do handle this work as a trained service.
What you can do is watch for the signs. Before a torsion spring fails, technicians typically see a set of warning signs:
- The door feels much heavier when you lift it by hand (test this only with the opener disengaged and the door at a safe point, or ask a technician to check it).
- The door opens a few inches and stops, or reverses for no obvious reason.
- The door sags on one side when open or closed.
- You hear a loud bang from the garage, usually followed by the door not opening at all.
- A visible gap in the spring coil.
- Rust-colored dust or a fine powder near the spring or shaft.
- The opener strains or the motor sounds louder than it used to.
Cables send their own warnings. Look for frayed or broken strands, a cable that has slipped its drum or wound unevenly, or a cable that hangs slack when the door is closed. Any of those means stop using the door and have it looked at. In Hackensack, cables that run through damp winter air tend to show their wear faster than people expect, and a cable problem that gets ignored often becomes a door that hangs crooked. Same door, same day is our aim when you call for this kind of repair, but the safest call is the one you make before the door fails.
Rollers, Hinges and Track: What to Lubricate and What to Leave Alone
Lubrication is where most checklists go generic, and where most homeowners make the one mistake that actually shortens a door’s life. Here’s the practical version, focused on the three points people skip and the one product that does damage.
The three points most homeowners miss:
- The hinge knuckles. Not just the roller inside the hinge, but the pivot where the hinge folds. A drop of lubricant at each knuckle keeps the hinge moving freely and stops the screw-holes from wallowing out.
- The bearing plates at the ends of the torsion shaft. These are the little brackets on the wall that hold the shaft. A drop of lubricant at each keeps the shaft turning smoothly and reduces the load on the springs.
- The roller stems, not just the roller wheels. The stem is the shaft the roller spins on. Lubricating the stem but not the wheel (or the wheel but not the stem) leaves half the friction behind.
The one product to avoid: a heavy grease or a general-purpose automotive grease sold as a garage door lubricant. Those products attract grit and turn the track into an abrasive paste, and on nylon rollers they can degrade the roller material itself. A light silicone-based lubricant or a dedicated garage door lubricant is the right choice for rollers and hinges. When in doubt, ask before you spray.
What to lubricate and when:
- Rollers and hinge knuckles: every 3-6 months, or twice a year as a baseline.
- Torsion shaft bearing plates: about twice a year.
- Track: do not lubricate the track. Keep it clean and dry. Wipe down any grit or grease that collects.
- Weatherstripping: a light silicone spray keeps it pliable and stops it from sticking.
Do the lubrication with the door closed and the opener unplugged, and never put your hands near a hinge while the door is moving. The track itself should be inspected at every lubrication pass: a track that’s bent or loose is a repair, not a lubrication issue.
Weatherstripping and Hackensack’s Seasonal Stress Points
Hackensack’s weather does a specific number on garage doors, and the sequence is fairly regular across the seasons. Here’s how the year tends to stress your door, and what to check at each turn.
- Spring (March-May): The freeze-and-thaw cycle loosens the concrete and shifts the door’s alignment. Check the track for shifting, check the bottom seal for gaps, and run the balance test (below) after the first warm stretch.
- Summer (June-August): Heat and humidity swell wood and soften the bottom seal. Watch for the door dragging on the frame, and check that the weatherstripping isn’t sticking to the door.
- Fall (September-November): Leaves, grit and debris collect in the tracks and rollers. Clean the track, clear the rollers, and inspect the weatherstripping before the first cold snap.
- Winter (December-February): Cold hardens the weatherstripping and can make the door bang against the frame. Check the bottom seal for cracks, and watch for ice at the base of the door that can jam the door against the floor.
Weatherstripping is the cheapest part on the door and the one most often left alone. It’s also the part that determines whether your garage feels like a garage or like a room. A bottom seal that’s cracked or stiff should be replaced, not patched. The side and top seals matter just as much. Leaks at the top and sides let in cold air, moisture and pests, and they make the door work harder every time it closes. Check all three on the same schedule: before each winter and after each summer.
On brands like Clopay and Wayne Dalton, the weatherstripping is often brand-specific. That’s one reason we keep working knowledge of those systems, so the replacement seal actually fits the door rather than being trimmed to fit. A Hackensack homeowner who’s had the door fail to seal properly after a generic fix knows the difference.
The Three Tests You Can Run in Ten Minutes
These three tests use nothing but the door, the opener and a few minutes. Each answers a different question, and each is worth learning once. Do them standing clear of the moving door and well away from springs and cables.
Test 1: Balance
- Close the door.
- Disengage the opener using the manual release (the pull cord hanging from the trolley).
- Lift the door by hand to about halfway.
- Let go and step back.
A well-balanced door stays where you leave it at the halfway point. If it drifts down, the springs are weak or worn. If it wants to rise, the springs are too tight. A door that falls or slams is a spring problem, not a door problem, and it should be checked by a technician before you use the opener again. Re-engage the opener before you run the door mechanically.
Test 2: Travel Limits
- Run the door fully open and fully closed, watching the whole cycle.
- Watch the door at both extremes: is it all the way up, and is it flush with the floor?
- On the opener, note whether the limit switches allow a gap at the floor or a door that stops short at the top.
Travel limits tell the opener how far to move the door. They drift over time. If the door is stopping short at the top or “bouncing” before it reaches the floor, the limits need adjusting. On LiftMaster, Chamberlain and Genie openers, this is a routine adjustment using the limit screws or the opener’s control panel. On a Genie that’s grinding or stopping mid-travel, a limit adjustment often solves it, but a technician can tell the difference between a limit issue and a worn drive component.
Test 3: Auto-Reverse (Safety Reverse)
- Open the door.
- Place a small object (a 2×4 on edge, not a fragile item) in the door’s path.
- Close the door with the opener.
- Confirm the door reverses on contact.
The door should reverse on contact with the object. Most openers also have a photo-eye (safety sensor) system at the base of the track. Test that by passing a hand through the beam while the door is closing. It should reverse immediately. If the door doesn’t reverse, do not operate it until it’s fixed. That’s the one test where failing is a serious problem, and it’s also one of the most common reasons people call us for garage door opener repair.
Keeping a Dated Log That Saves You Money
Here’s the part almost no checklist mentions: write down what you see. A dated log does two things no amount of memory can. First, it tells a technician whether a problem is new or has been progressing for six months. Second, it turns a vague description into a precise one, which means the technician can bring the right parts and make the first visit count.
The log doesn’t need to be fancy. A notebook in the garage or a note on your phone works. Keep it to four fields:
- Date. Every entry.
- What you saw or heard. “Grinding on the way up” is better than “weird noise.”
- Where it happened. Left side, right side, top, bottom, the whole travel.
- Whether it happened once or repeatedly. “Once” and “every time” mean very different things.
Here’s the payoff. A technician sees a door that jerks on one side, and a log that says “jerks on the right side, started lightly in March, now every cycle” tells them to look at the right cable and the right roller, not to guess. A door that has been quietly stiffening since the first cold snap is a different door than one that started banging yesterday. In Hackensack we see this on the same return visits, where a homeowner who kept a log saves a diagnostic step. The log is also useful when you compare a technician’s notes over time. If you want a fast repair, the log is your side of the conversation.
Two more log habits worth building: note the date you last lubricated, so you’re not guessing “a few months ago,” and note the date of any weatherstripping replacement. That’s the record that tells you whether the seal is actually holding or whether the door has been leaking for the second winter in a row.
Opener Maintenance Most Owners Skip
The opener is a motor, but it’s also a set of parts with their own maintenance needs. The first thing to check is the opener’s manual. That’s where the brand-specific maintenance lives, and it’s the single most underused document in the garage. Every opener has a model number on a sticker (usually on the back of the motor housing or under the light cover), and knowing that number is worth more than any generic advice.
A few checks are universal:
- Listen for the motor. A motor that sounds strained, grinds, or works harder than it used to is telling you the door is heavier than it should be. That often traces back to the springs, not the opener.
- Check the photo-eye sensors. They sit at the base of the track, one on each side. A dirty lens, a misaligned bracket or a spider web across the beam will stop the door. Clean them, and test the beam with your hand.
- Check the manual release. The pull cord should operate freely and re-engage cleanly. If it’s stiff or won’t reconnect, that’s a real problem, not a fluke.
- Check the wall control and remote. A control that works intermittently, or a remote that needs to be held close, is often a battery or a programming issue.
Smart and legacy openers take different care. A LiftMaster or Chamberlain with a Wi-Fi-connected motor can usually tell you about a fault in its app; a Genie or a Craftsman legacy drive unit won’t, so the diagnostics come from how the door behaves and what you log. We work with all of them. The brand matters because the parts and the adjustment techniques are different, not because one brand is “easier.” A Craftsman that grinds and a LiftMaster that won’t respond are two different repairs.
A note on the opener’s role: the opener lifts a door that’s already balanced. When the springs are tired, the opener does the springs’ job, and the motor wears out twice as fast. That’s the reason to check the balance test before you invest in opener parts. Repairing the door and repairing the opener are separate conversations, but they meet at the springs.
Common Mistakes to Avoid
- Greasing the track. The track is supposed to be clean and dry. Lubricant on the track collects grit, gums up the rollers and turns a smooth door into a grinding one. Wipe the track clean; don’t lube it.
- Using general automotive grease on nylon rollers. Heavy grease degrades the nylon and attracts grit. Use a light silicone-based lubricant or a proper garage door lubricant instead.
- Testing the balance by lifting the door with the opener engaged. This tells you nothing about the springs and can strain the opener. Disengage the opener first, then lift.
- Replacing a broken spring one at a time. Matched pairs are usually replaced together. Replacing one spring on a pair leaves the door uneven and the newer spring working against the older one. A matched pair is the standard repair because the door works as a pair.
- Adjusting the opener’s force or travel limits to compensate for a stiff door. Crank the force up to force a door that’s dragging, and you hide the actual problem while pushing the opener toward failure. Fix the door, then adjust the opener.
- Patching weatherstripping instead of replacing it. A cracked bottom seal that’s been patched is still a cracked bottom seal. Replace it before winter.
- Ignoring a bent track because the door “still works.” A bent track keeps working until it doesn’t. It also wears the rollers and loads the cables every cycle.
See the difference
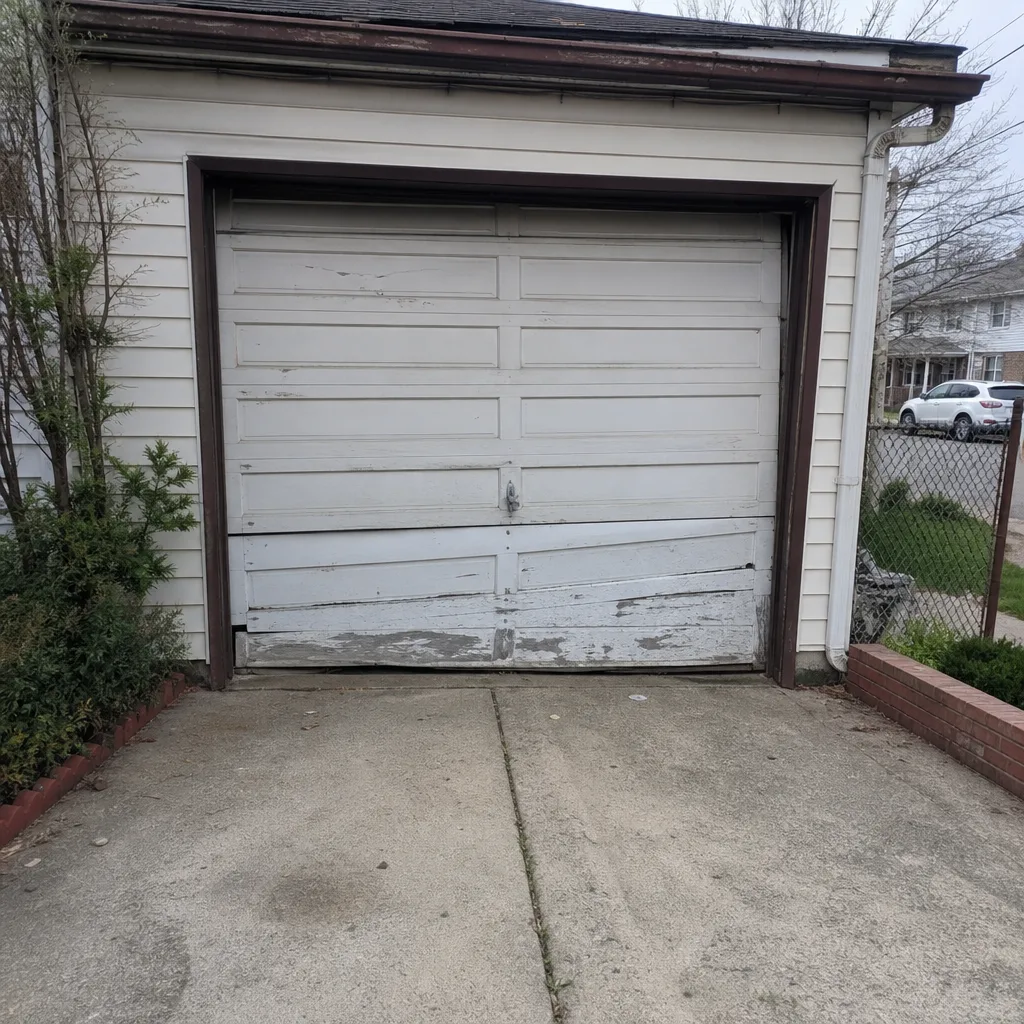 Before
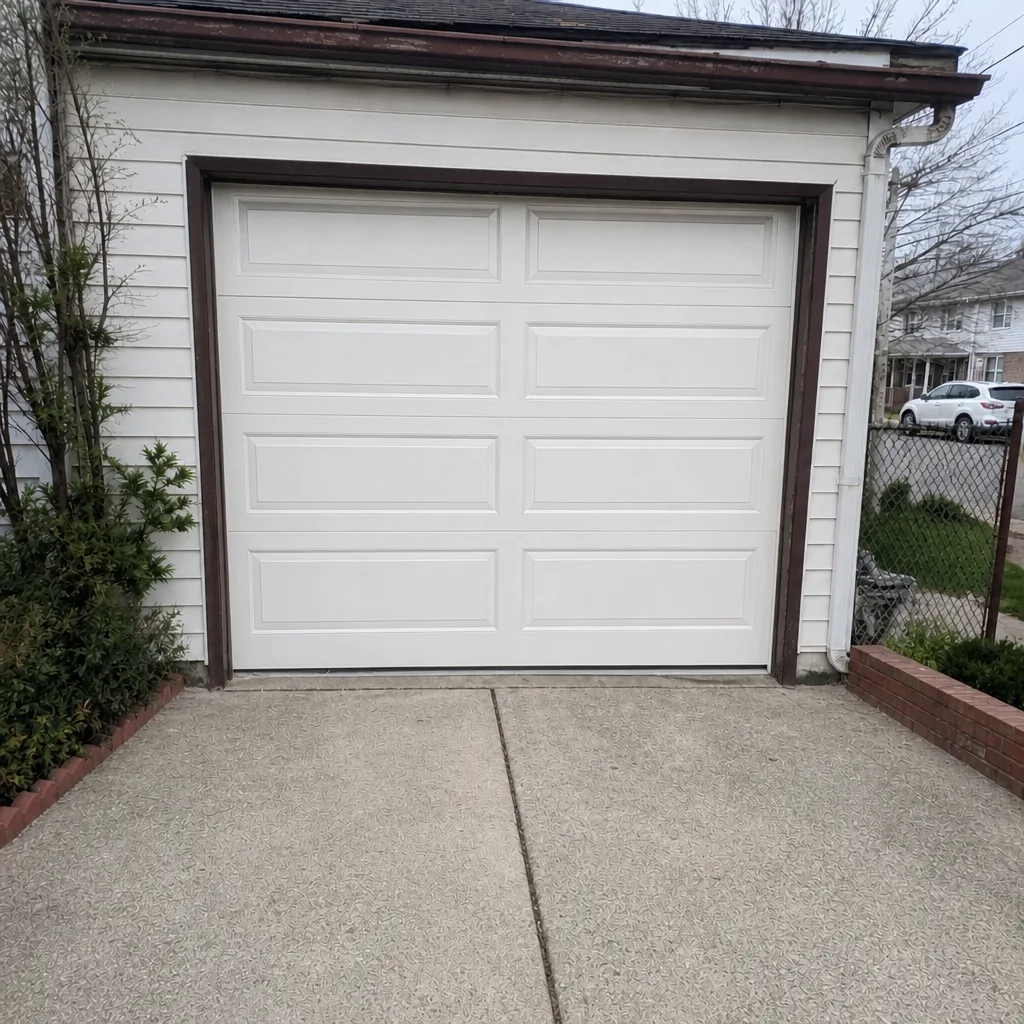 After
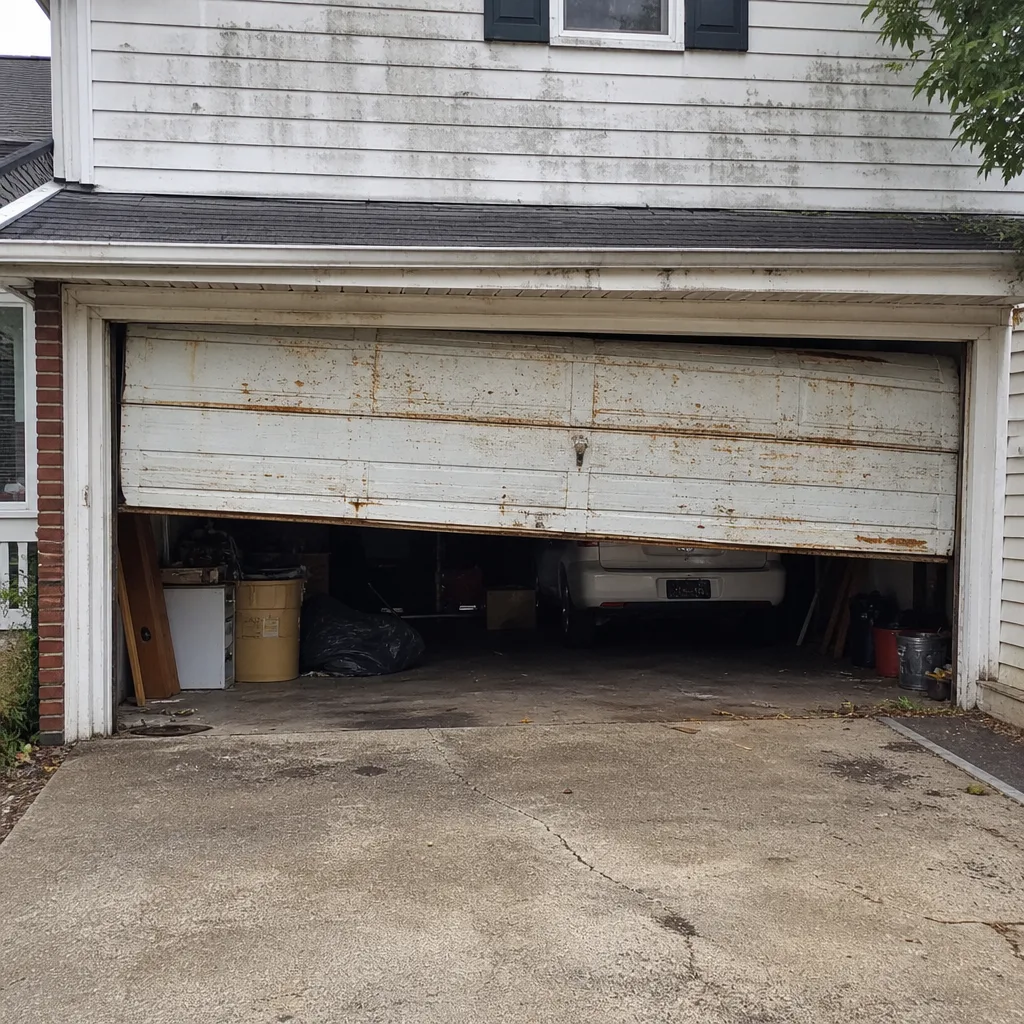 Before
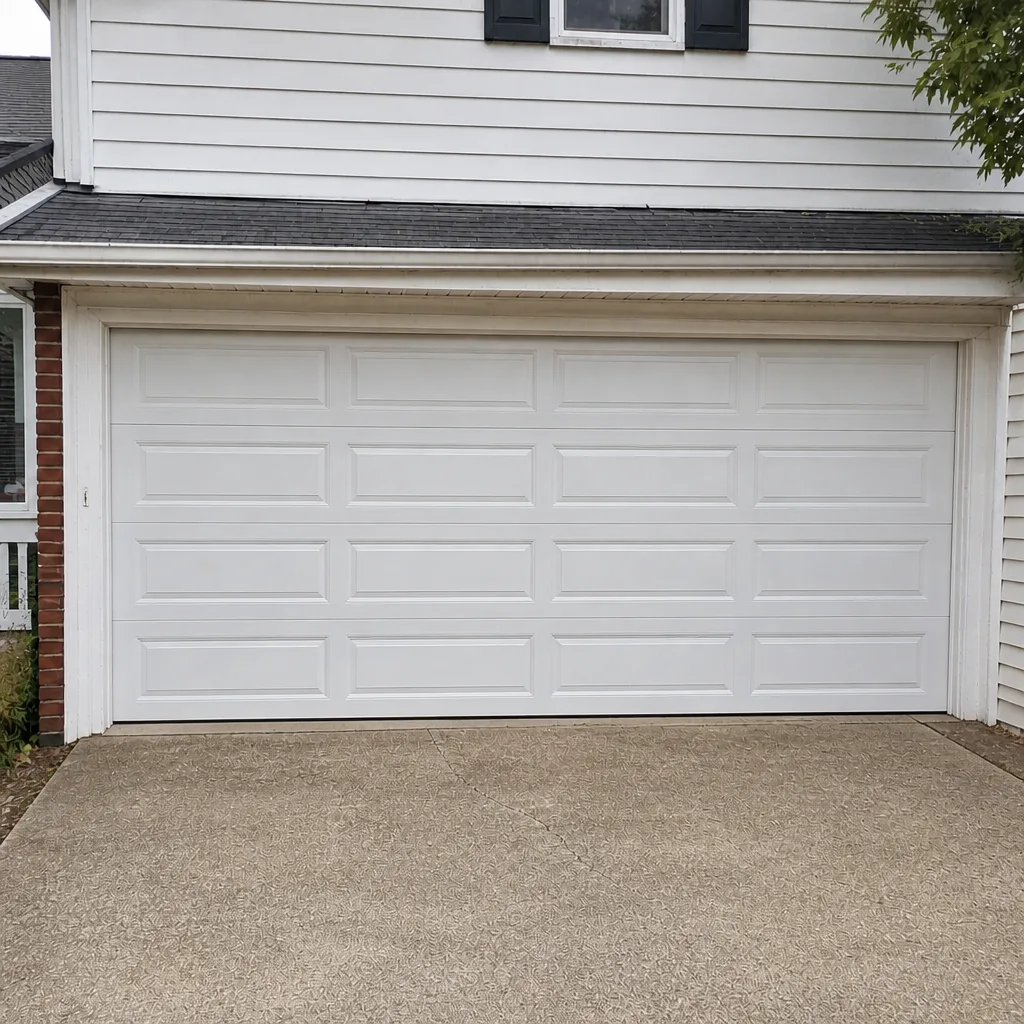 After
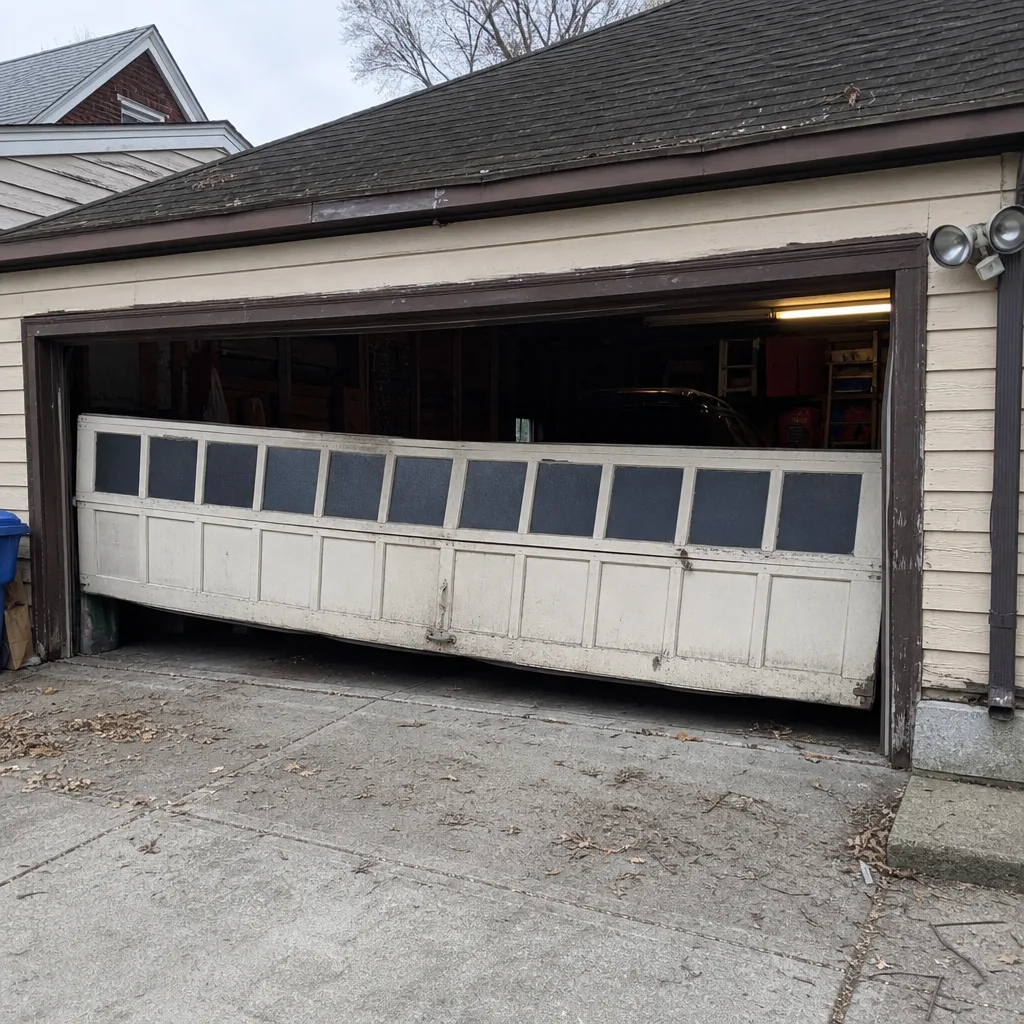 Before
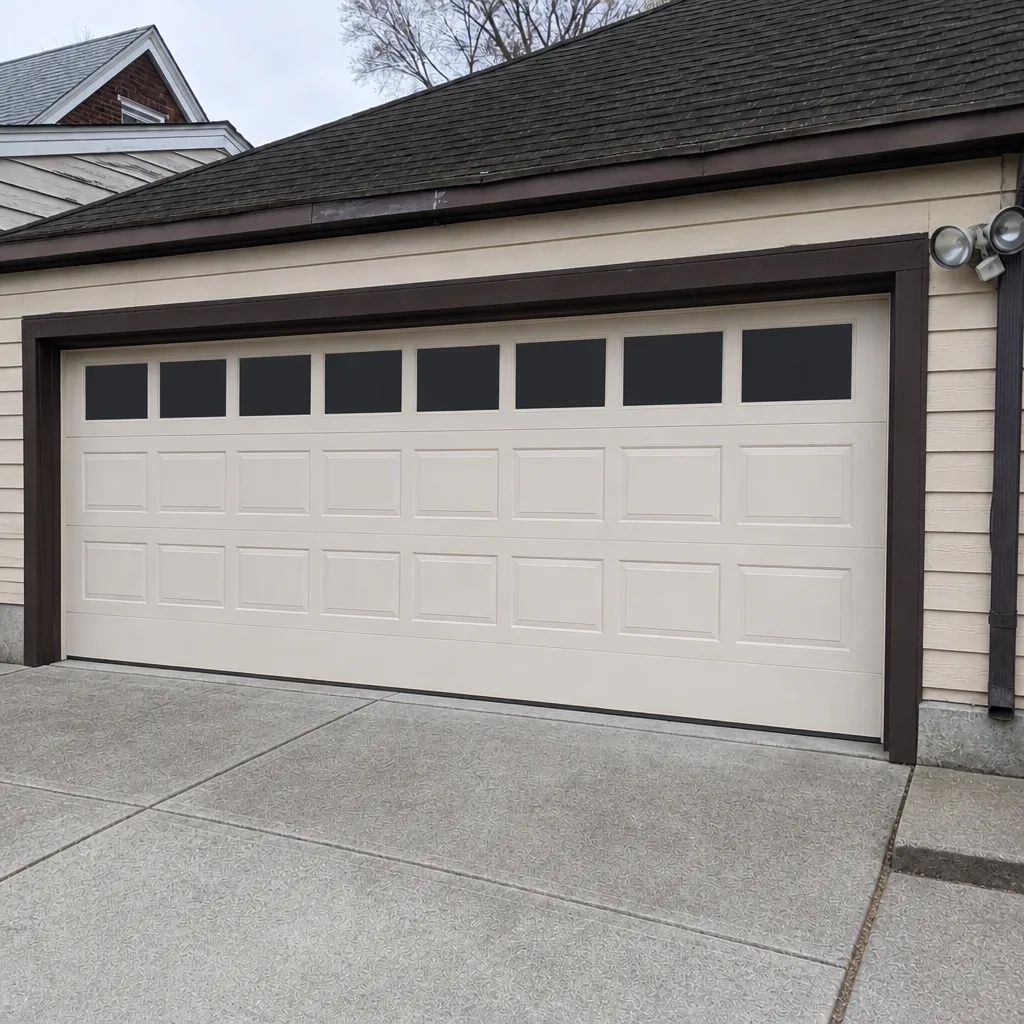 After
When to Call a Professional
Some things are a checklist. Some things are a phone call. Call a professional for anything involving springs, cables, drums, the bottom brackets or the opener’s internal parts. A snapped spring, a cable that has slipped its drum, a door that has come off the track, a door that won’t reverse on contact, or a door that has become unsafe to lift by hand are all stop-now conditions. Never operate a door with a visibly broken spring or cable. This is the same reason we handle spring repair as a trained service and not a homeowner project: there’s real stored energy in that spring, and the cost of getting it wrong is measured in hospital trips, not dollars. If you’re in Hackensack Garage Door Repair Pros offers free estimates in Hackensack – call (844) 959-3216. We answer 24/7. Fast dispatch from 7am to 7pm, Sunday through Friday.
Frequently Asked Questions
Do the five-minute visual walkaround monthly, lubricate rollers, hinges and bearing plates about twice a year, and check weatherstripping before each winter and after each summer. Run the balance, travel and auto-reverse tests every few months or whenever the door’s behavior changes. The monthly walkaround is the habit that catches most problems early. Call (844) 959-3216 for an exact quote on any repair – estimates are free.
Prices in Hackensack depend on the part and the door. Spring repair is usually priced per spring, and a matched pair costs about twice a single spring because the pair is what’s replaced. Opener repairs, cable and roller work and minor adjustments are quoted per job by written estimate. The estimate is agreed before any work starts, so there’s no surprise invoice. Call (844) 959-3216 for an exact quote – estimates are free.
For repair and emergency work, same-day service is often possible, and a broken door with a snapped spring or off-track cable is treated as urgent. We answer 24/7, and fast dispatch runs from 7am to 7pm, Sunday through Friday. Installation and new-door replacement are measured and scheduled instead of same-day. Call (844) 959-3216 and we’ll get a technician out as soon as we can.
The local professionals we connect you with are state-licensed and insured as their state requires. Our technicians have up to 12 years of experience. Spring, cable and opener work requires training, especially on systems like Clopay, Amarr, Wayne Dalton and Craftsman, so the work is handled by trained hands. Call (844) 959-3216 for a free estimate.
No. The written estimate is the price. We inspect the door, quote the work, and get your agreement before any work starts. If the inspection turns up a second problem, we tell you and quote it separately before touching anything. Call (844) 959-3216 for an exact quote – estimates are free.
Maintenance is almost always worth it for a door that’s structurally sound, because a spring or roller repair is a fraction of a new door. Replacement makes sense when the door is structurally compromised, the panels are failing, or repairs are adding up across the same door. We offer installation alongside repair, so you won’t be handed off for a new door. For a free measure and written price, call (844) 959-3216.
The Bottom Line
Your garage door won’t tell you it’s about to fail. It will show you, if you look on a schedule. The monthly walkaround catches springs and cables early. The twice-a-year lubrication protects the rollers and hinges. The seasonal weatherstripping check keeps the door sealing through Hackensack winters. The three tests in ten minutes tell you whether the door is balanced, traveling right and reversing on contact. And the log turns all of it into a record that makes every future repair faster and more accurate. When the checklist says stop, or when anything involves a spring or cable, call a trained professional. Hackensack Garage Door Repair Pros connects you with local professionals who know the major brands, handle spring work as a core service, and cover the door and the opener together.
Call (844) 959-3216 for a free estimate. We answer 24/7. Fast dispatch from 7am to 7pm, Sunday through Friday. Whether your LiftMaster won’t respond, your Genie is grinding, or you just want a second set of eyes on a door that’s been making noise, we’ll get you a clear answer and a written price before any work begins.
Written by the team at Hackensack Garage Door Repair Pros.